
UAL Level 3, Unit 8, at Richmond Art College.
Lighting in photography.
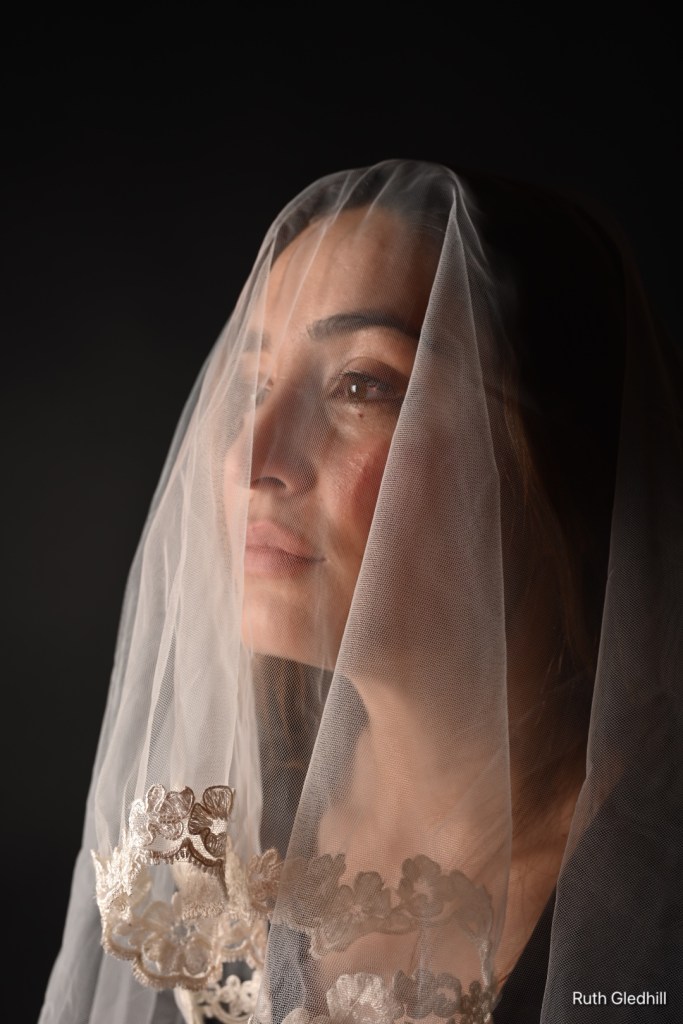
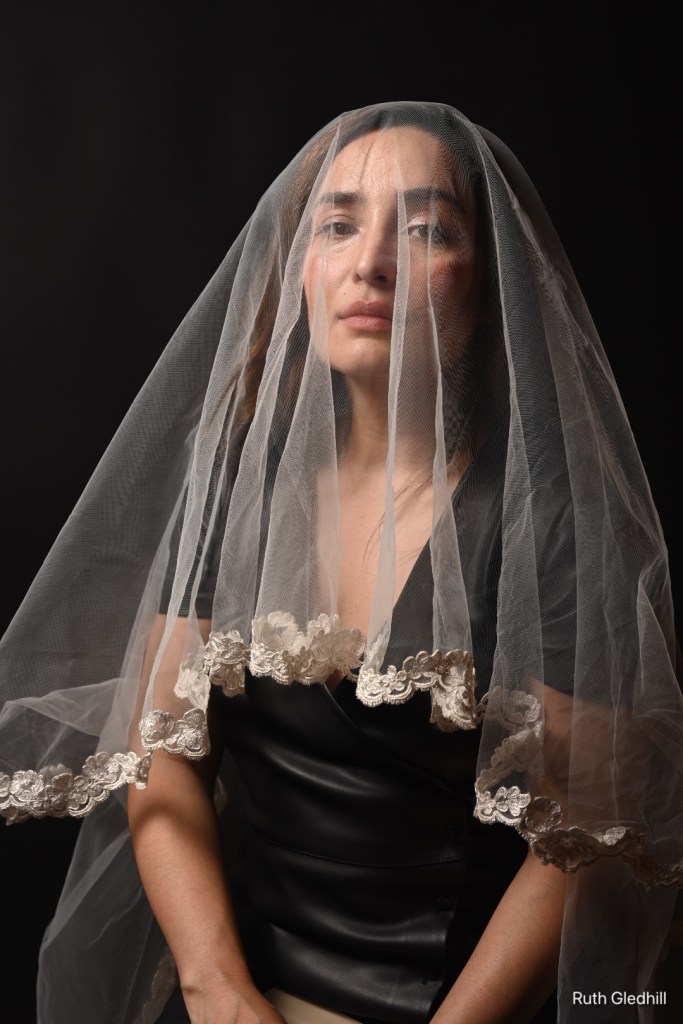
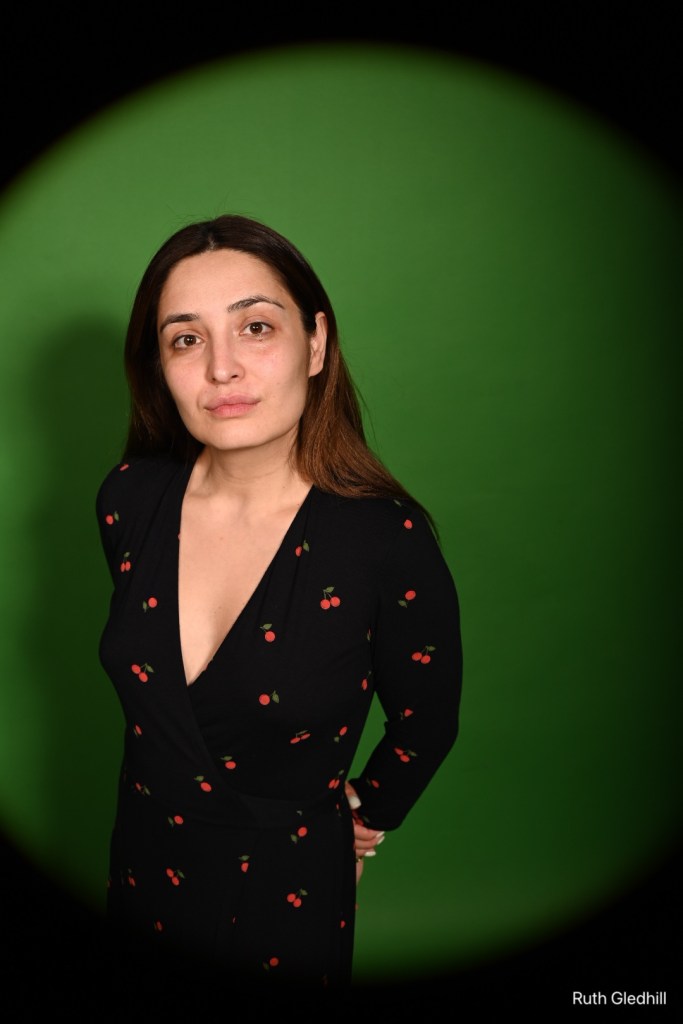
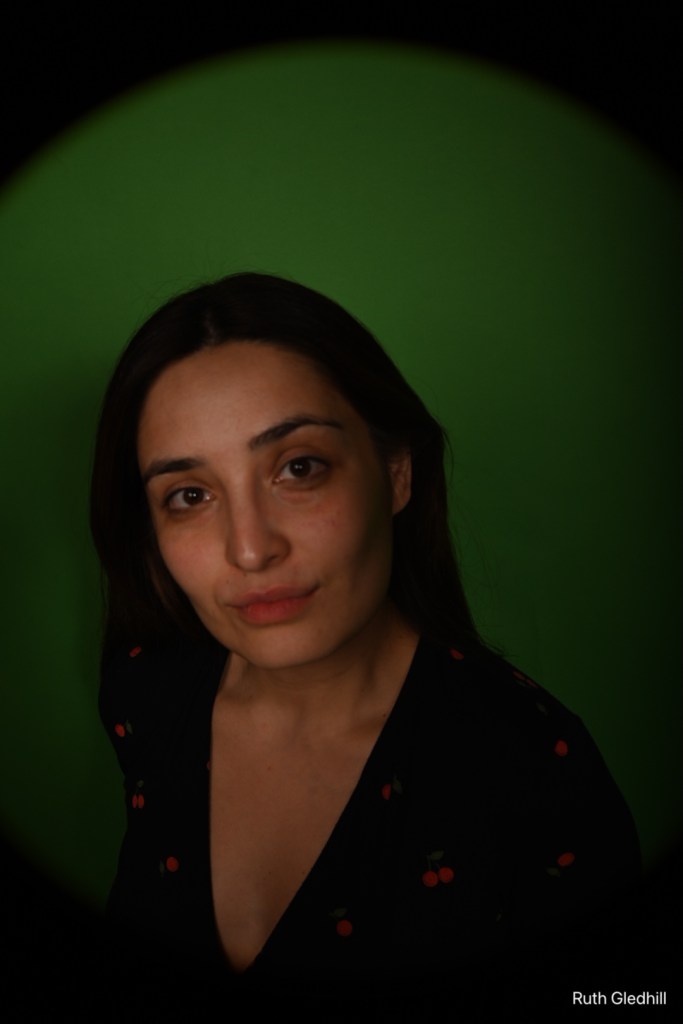
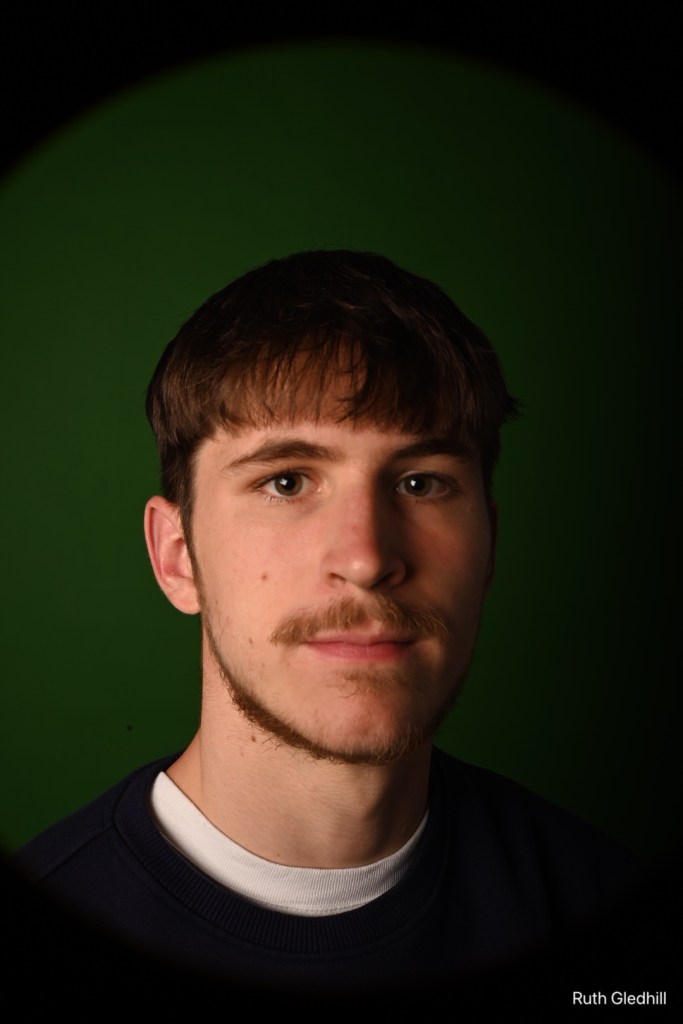
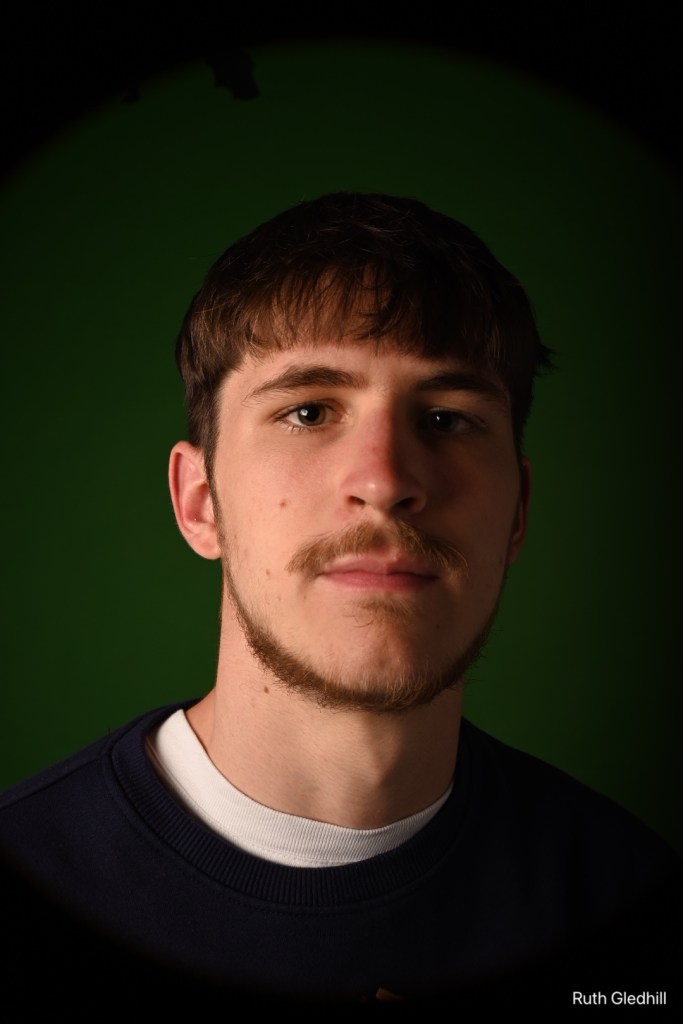
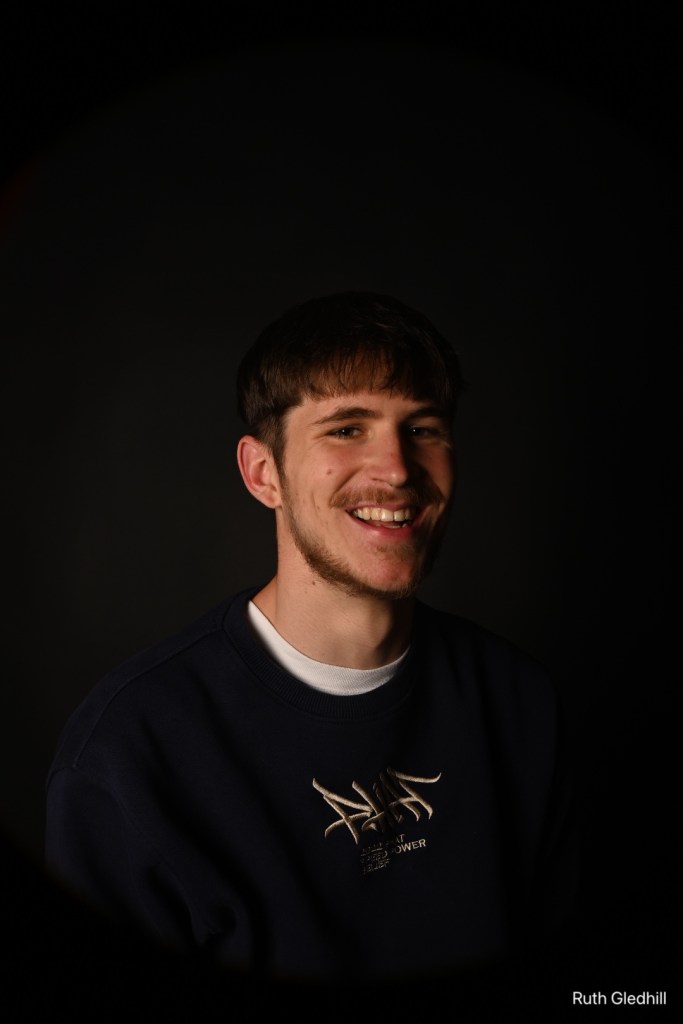
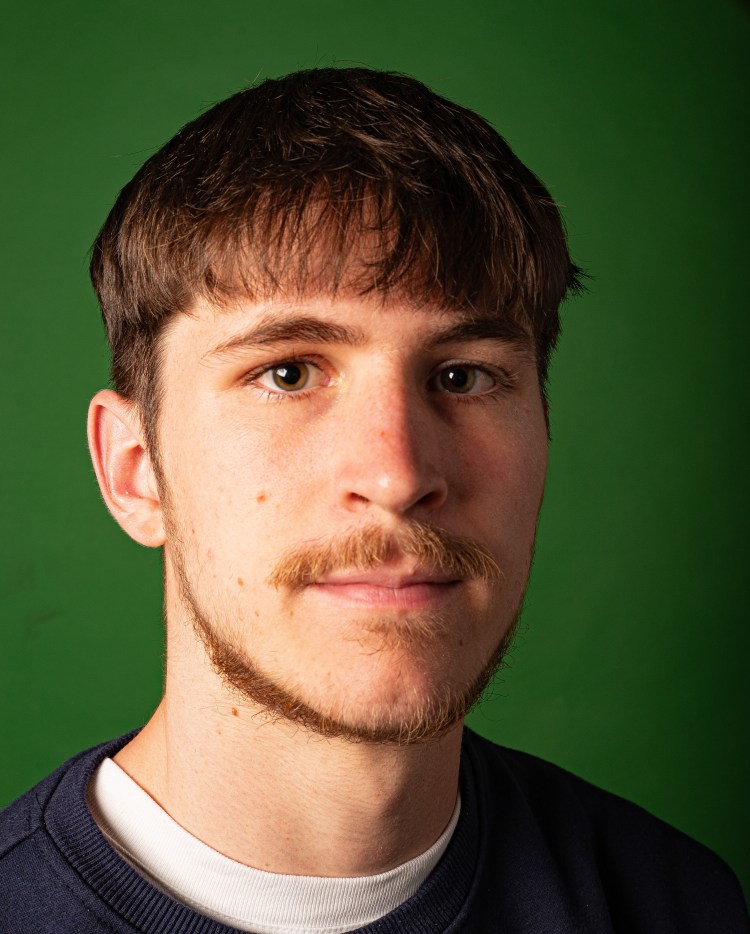
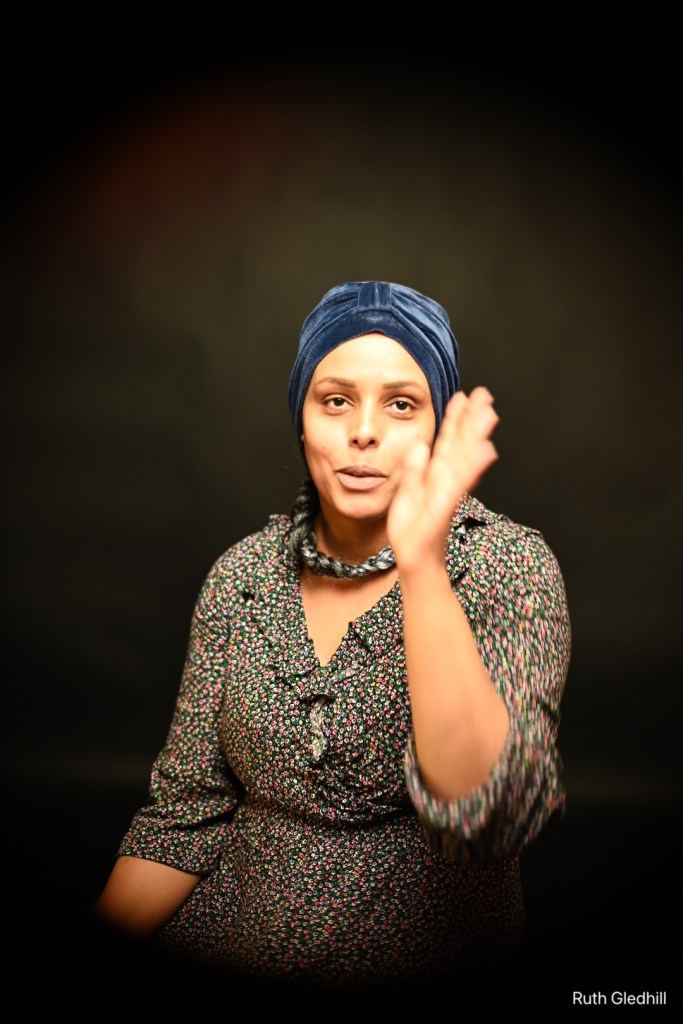
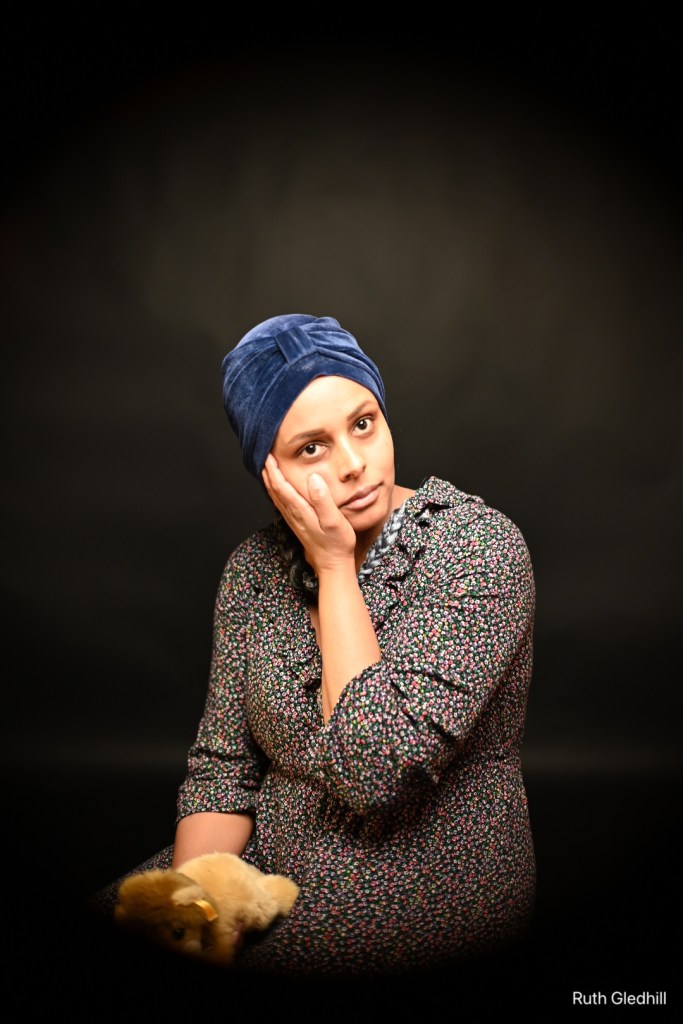
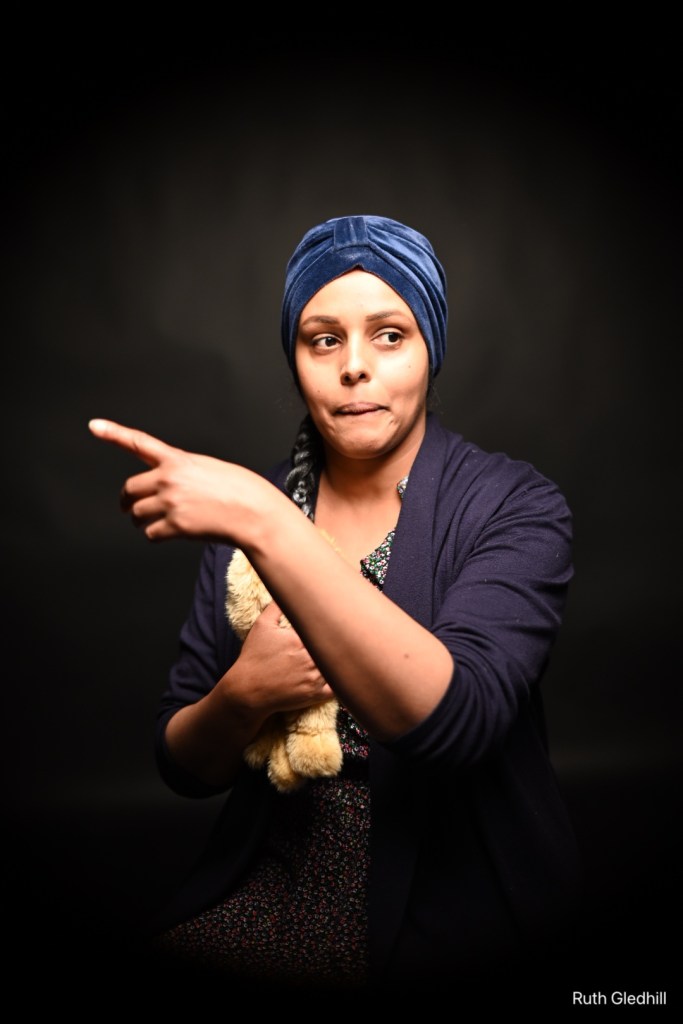
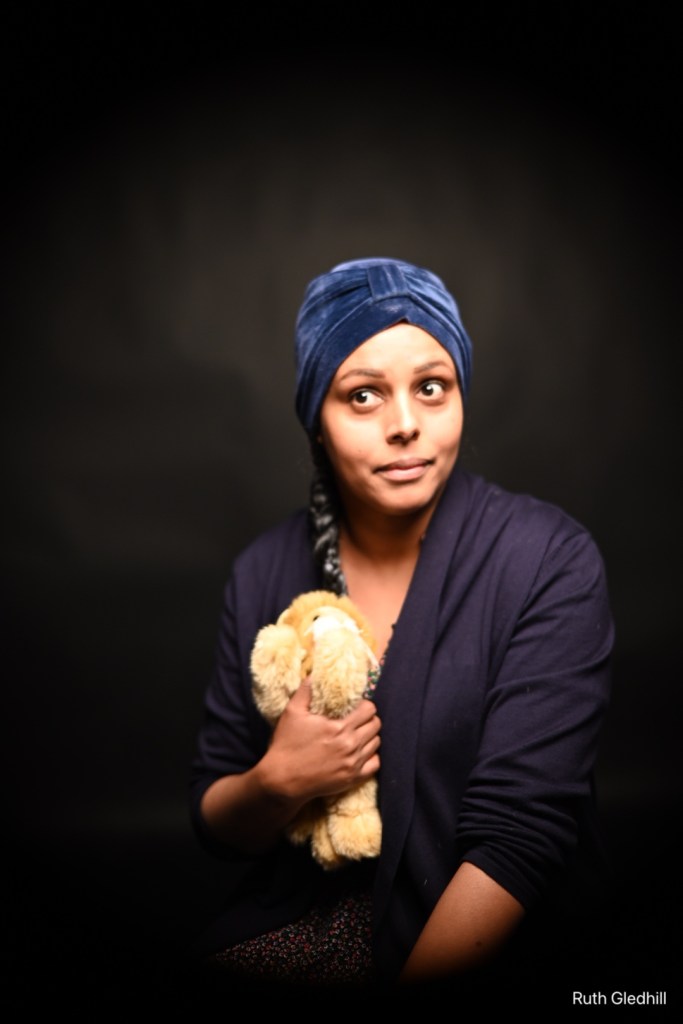
In this level, we explored principles, knowledge, understanding and skills necessary to use for lighting in photography. We did studio based still-life and portrait photography, setting up subjects with careful illumination.
We explored different light sources, using studio lighting, and developed ideas from explore historical and contemporary studio photographers, working to understand historical and contemporary influences on studio photography.
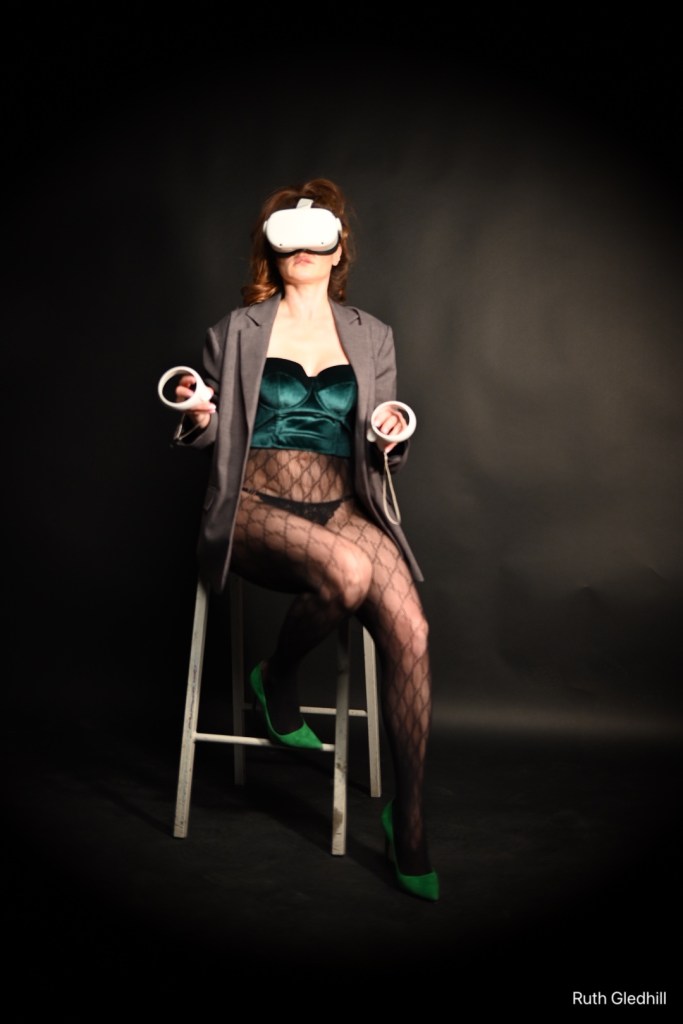
LO1. Understand lighting sources for photography: we identified and critically compared a range of light sources for photography. We experimented with natural light as well as artificial light from flash, diffusers, keys and fill lights. I worked with the formal studio set up as well as with my own equipment at home, where I have learned how to set up and use lighting systems and backgrounds as well as exploit natural light when available.

LO2. Understand light metering.
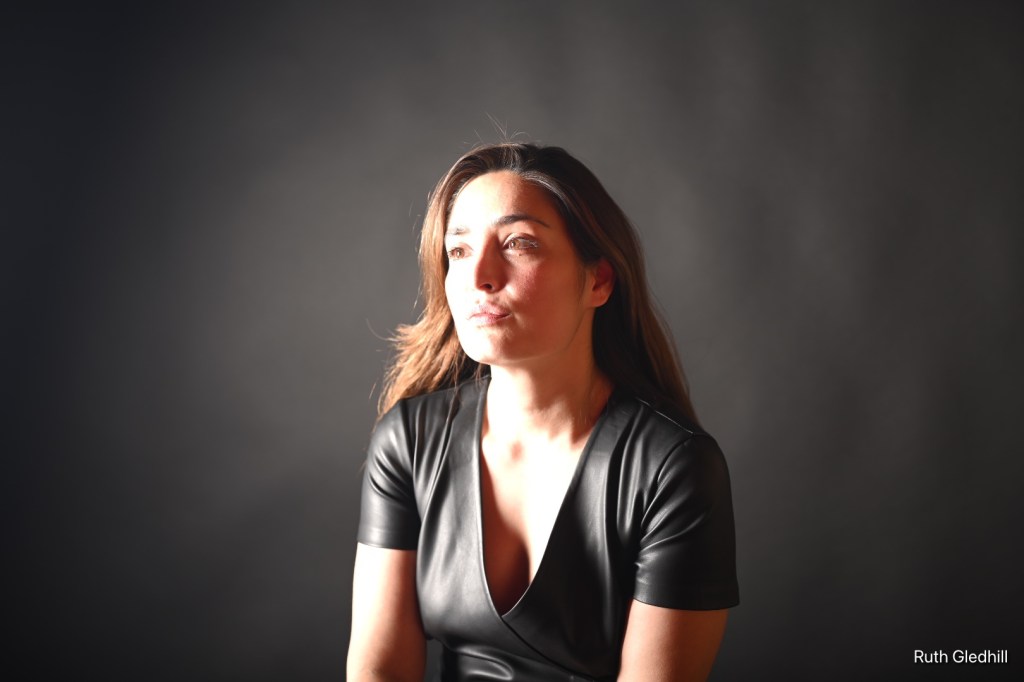
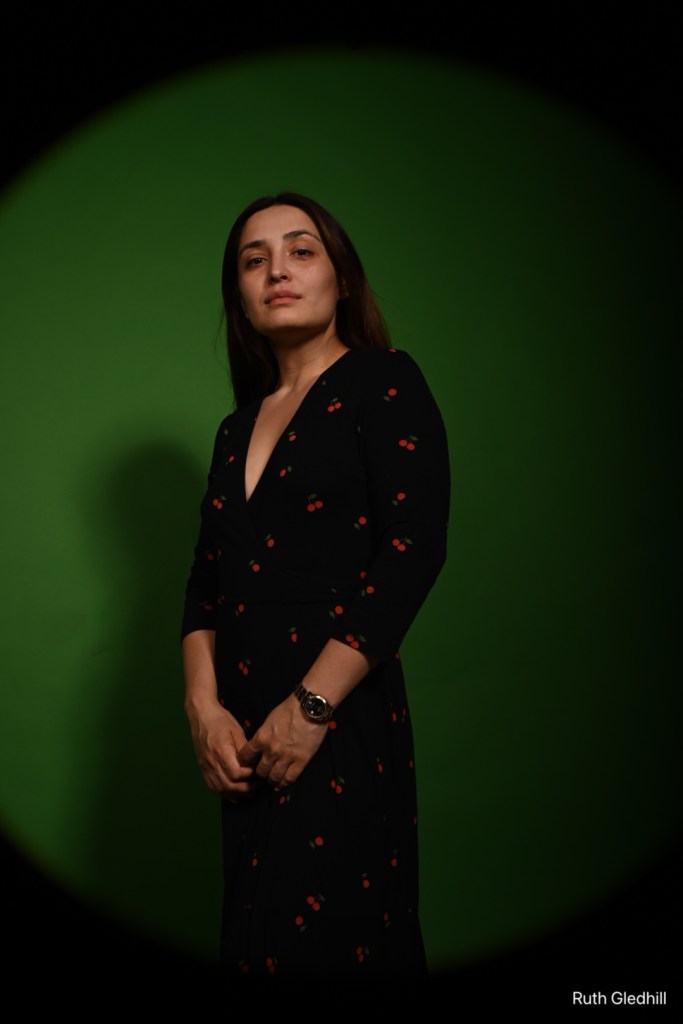
2.1 I have learned for the first time to identify light metering techniques for a range of light sources and subjects. This part of the course has been a complete revelation and I now feel I will never be without my Sekonic L-308X for anything (apart from landscapes). The thrilling and enormous benefit I discovered was this allows me to decide on all the camera settings based on precise metering of a particular part of a face or still-life – even an action shot – that I am trying to capture. So, unlike when using the camera’s light meter when inevitably the precision of the reading is diluted by background and other ambient light, it is possible to get beautifully-precise lighting effects with a meter. This, I discovered, then enhances the richness and depth of colour throughout the entire image.
Using the light meter, I was able to explore with considerable freedom different lighting set-ups to achieve the desired final outcome (further down this post). I didn’t have to worry about camera settings and just needed to adjust the key and fill lights and especially the diffuser. So unexpectedly, a light meter turned out to be a liberator. I think I will never be without it now.
I will carry it with me always to use with portraits, still life and also landscapes where I want the foreground reading, or an object in the foreground, to determine the settings and am really interested to experiment with it further, moving forward.

LO3. Be able to use lighting sources for photography.
We used a range of lighting sources to photograph a range of subjects to meet identified goals, working with and without flash, using continuous and strobe lighting to coordinate with the flash when necessary. We used soft-boxes and other diffusers such as umbrellas with one key light.
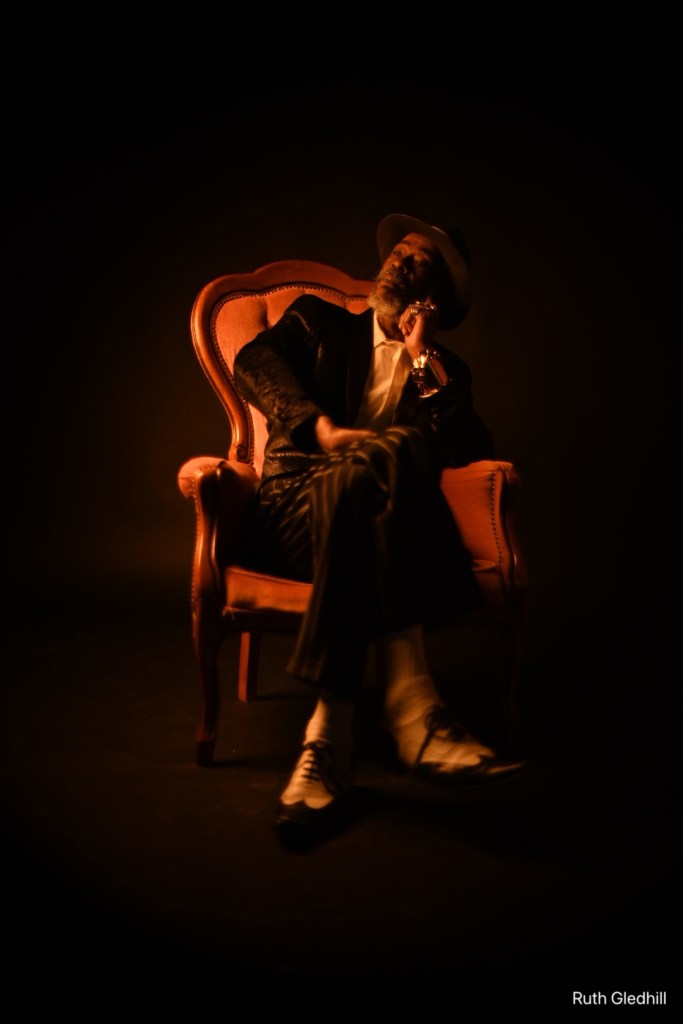
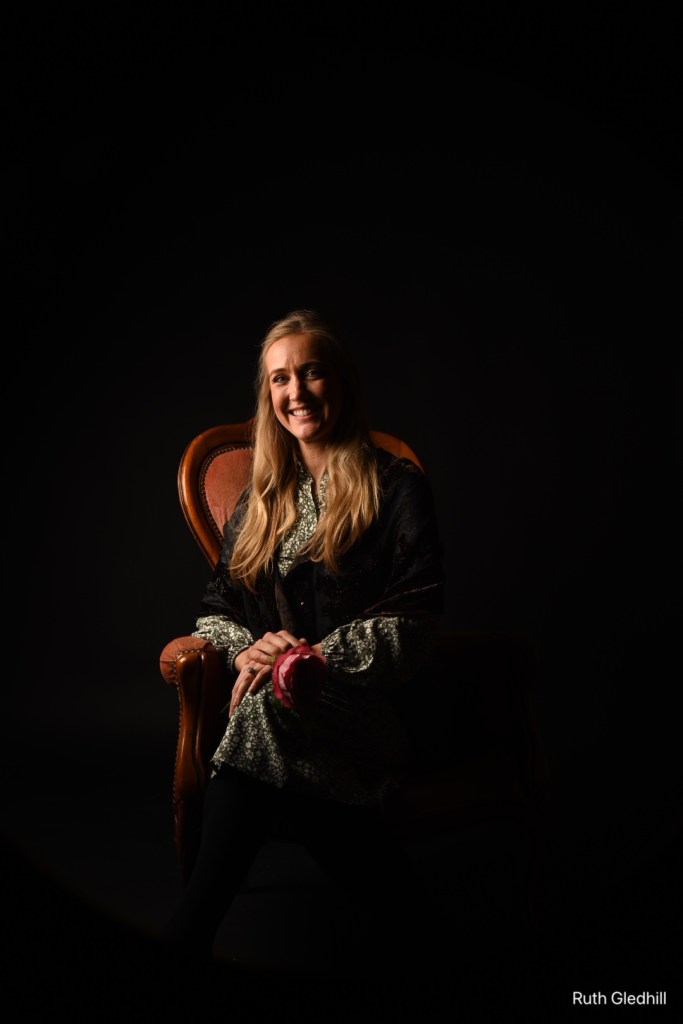


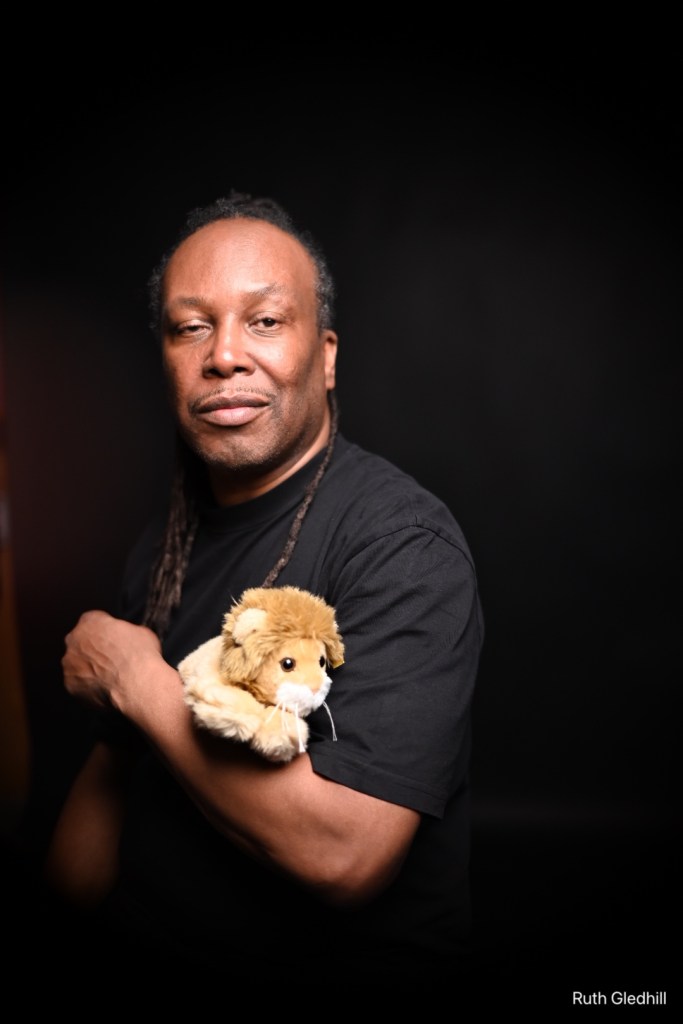

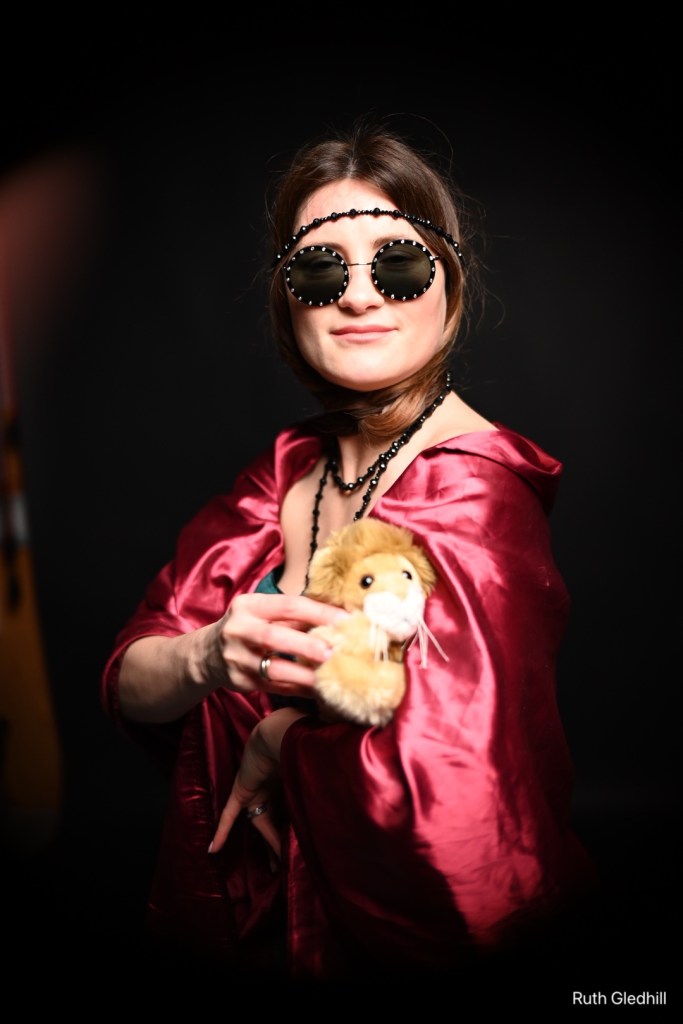
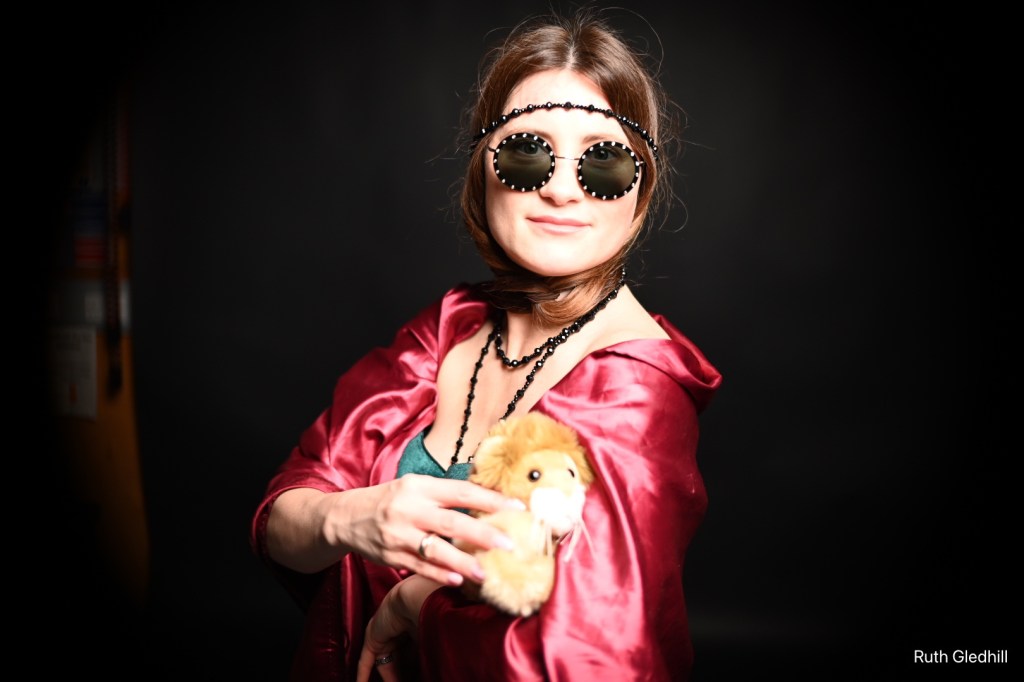


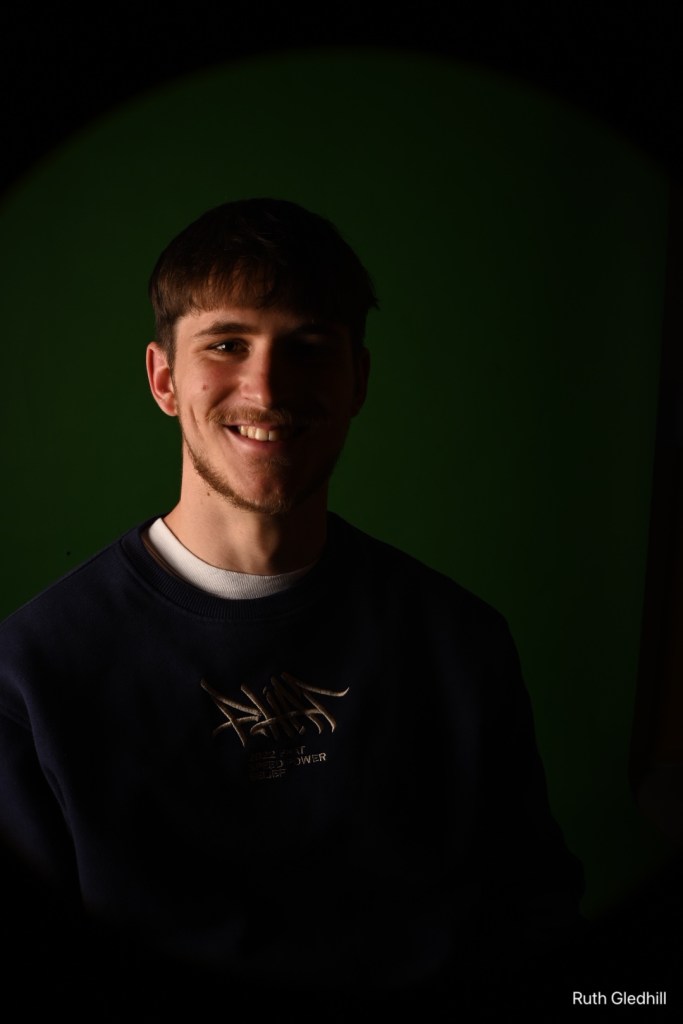
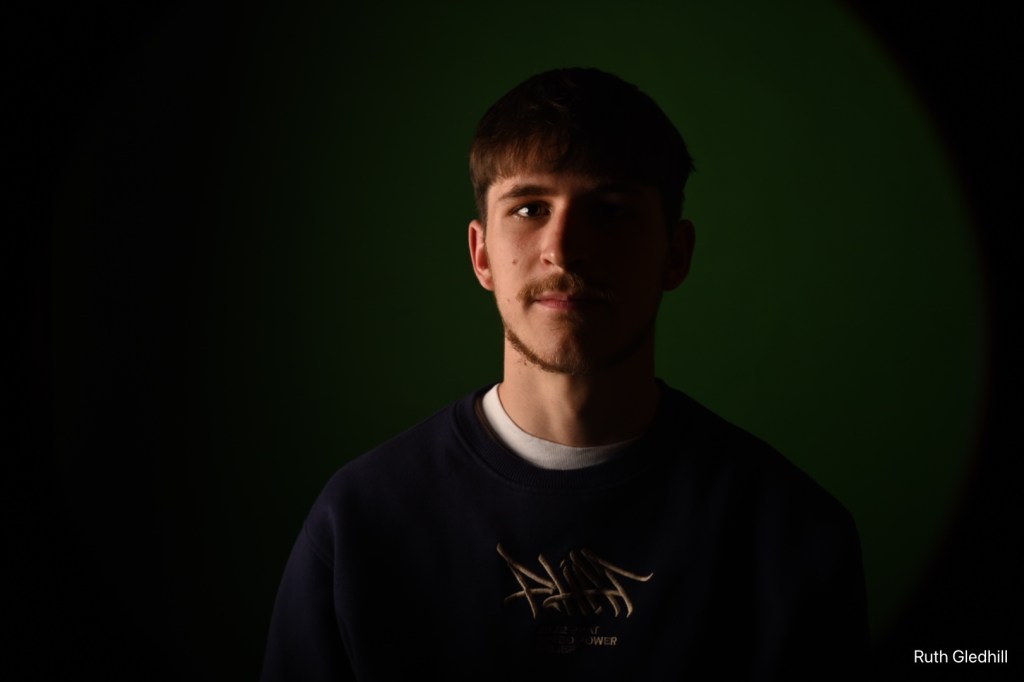
Task 1
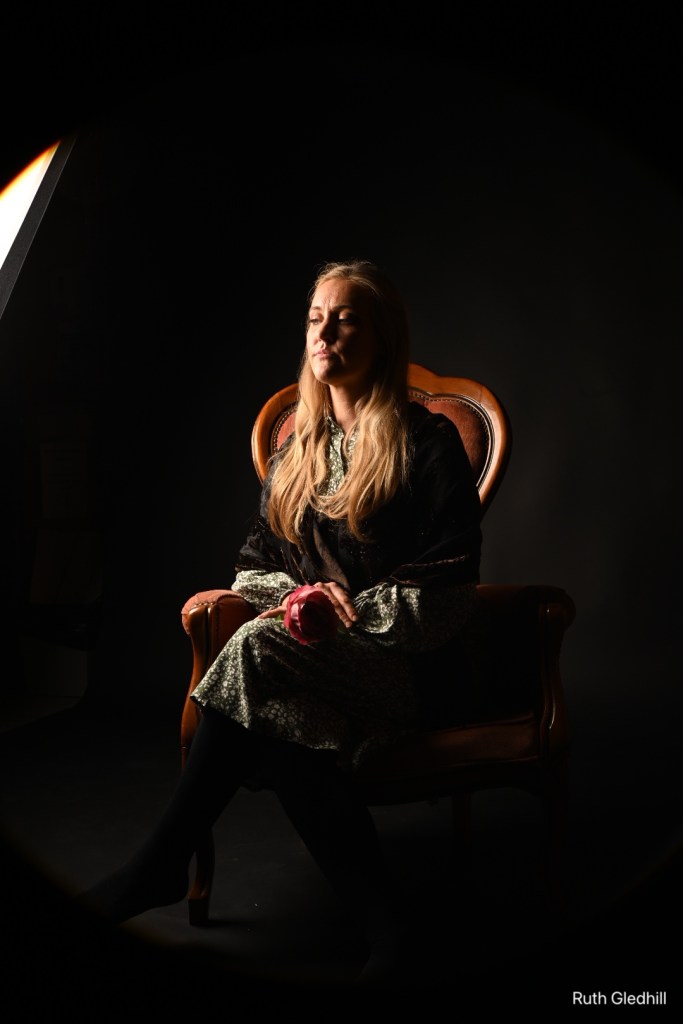
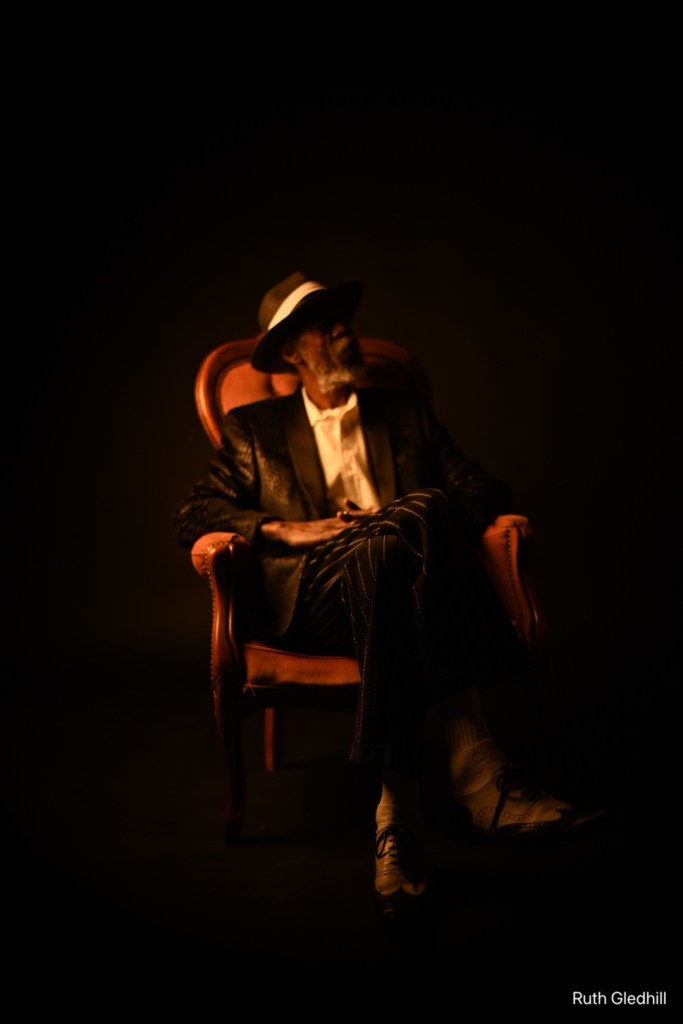
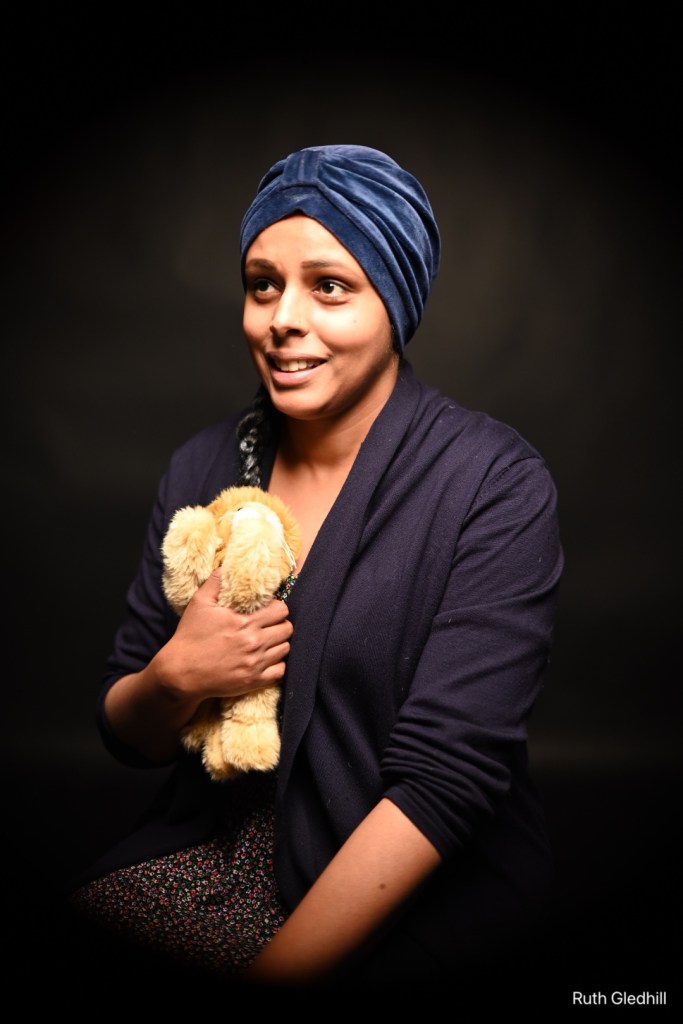
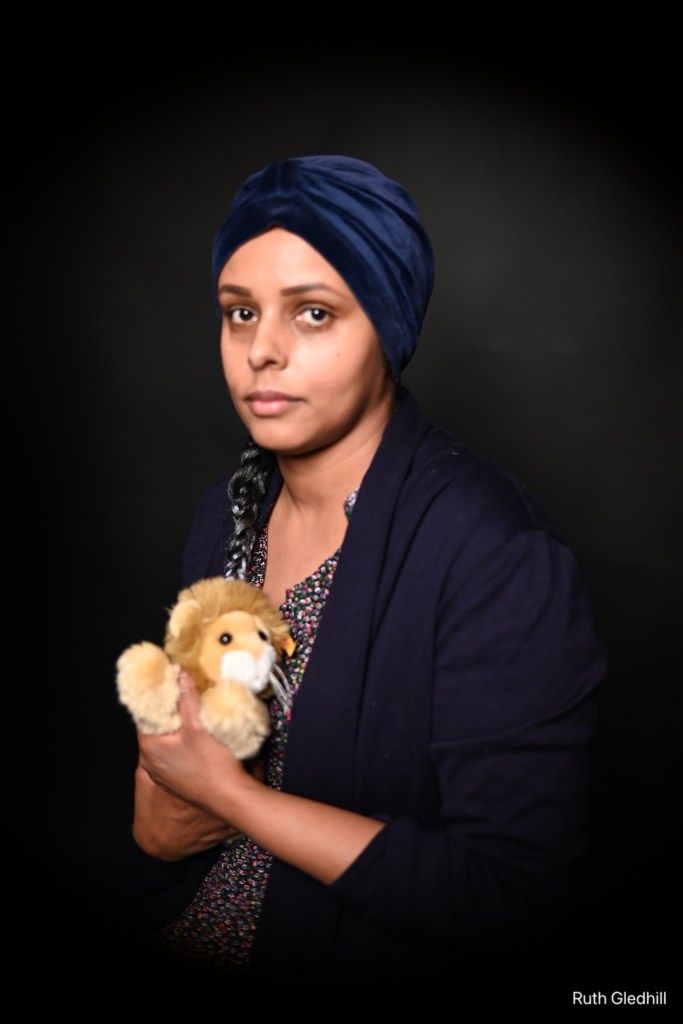
Boticelli’s Young Man Holding a Roundel is one of our favourite paintings at home, and we have a framed copy. We think some of the many men in our family of all ages resemble this beautiful young man.
So this was the portrait I chose to interpret in the studio.

We used studio lighting – diffuser, key light, fill and flash – to achieve the required light and shade. Unfortunately the subject was slightly time-limited so there was not time to explore the concept fully as expressed by Boticelli but given the main goal was on the lighting front, I was pleased overall with the result.
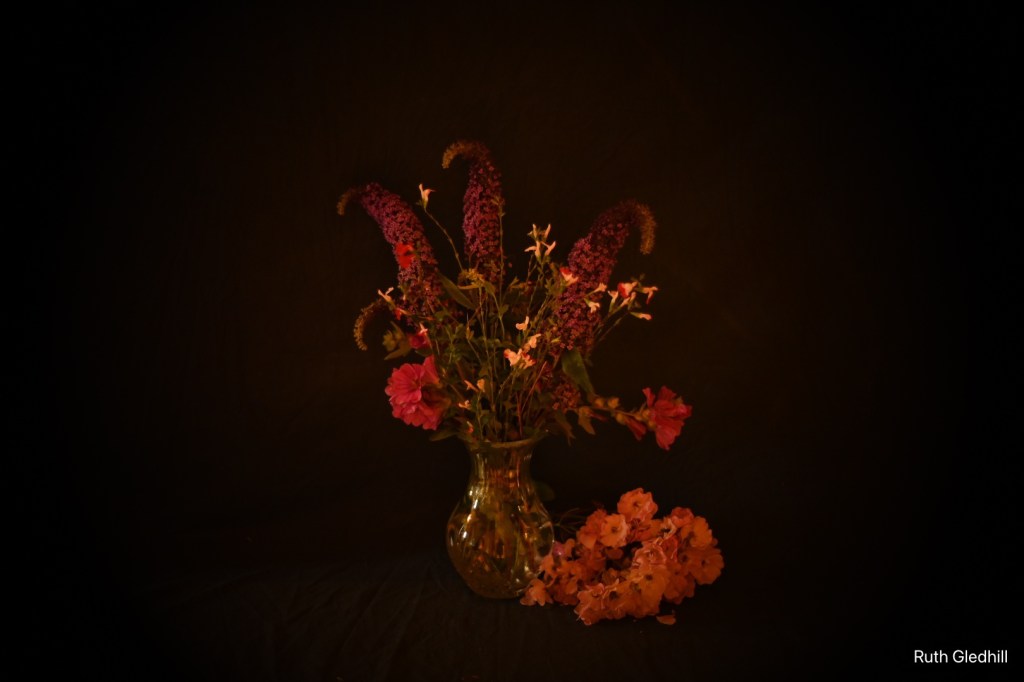
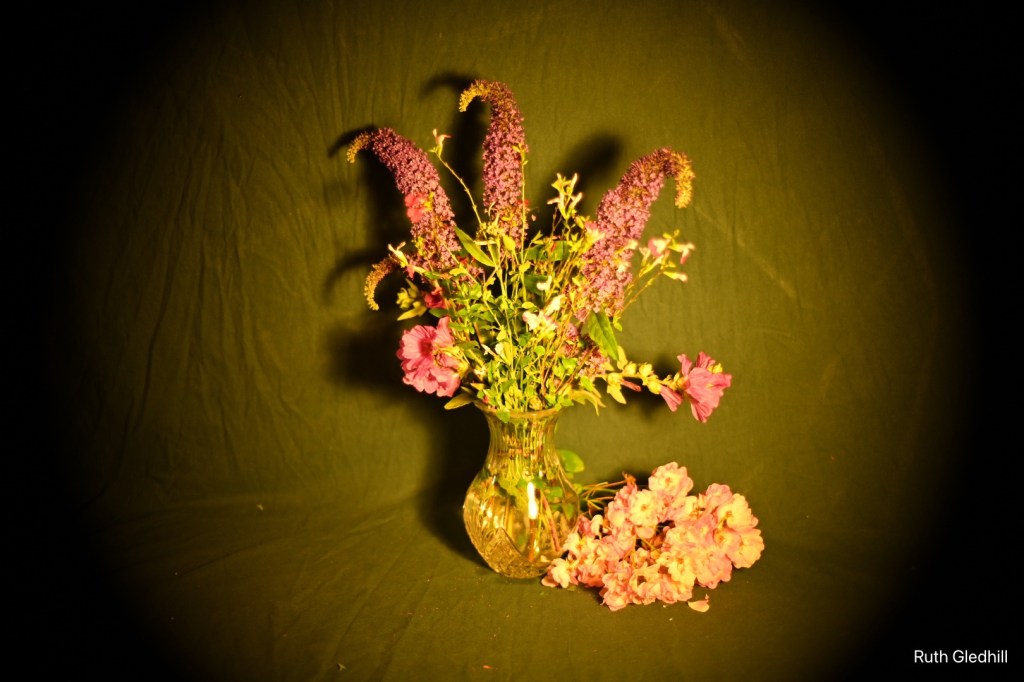
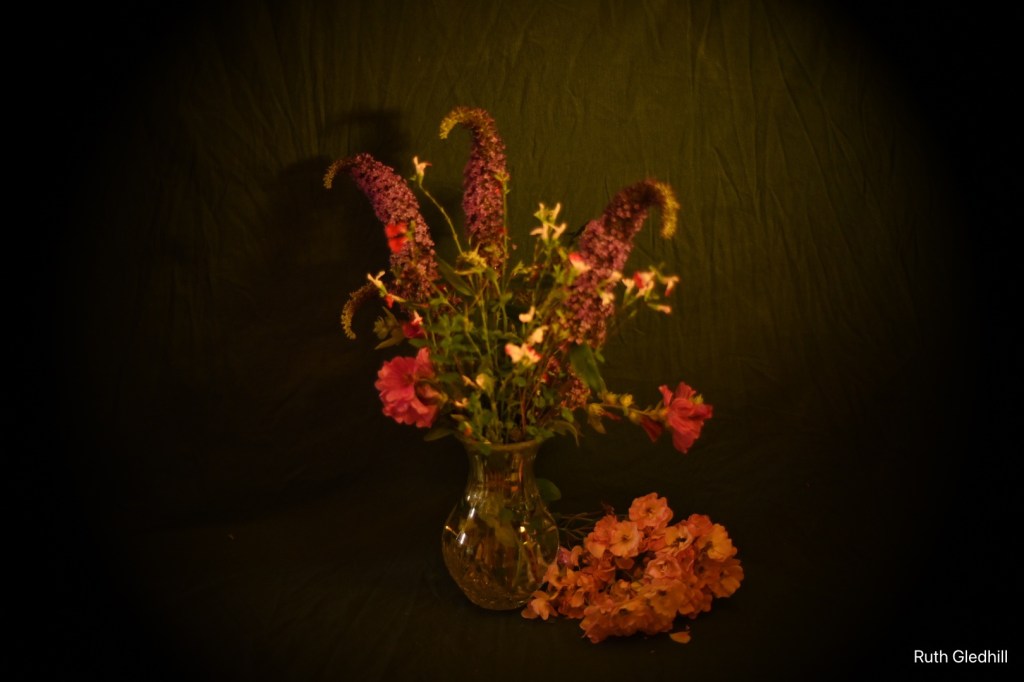
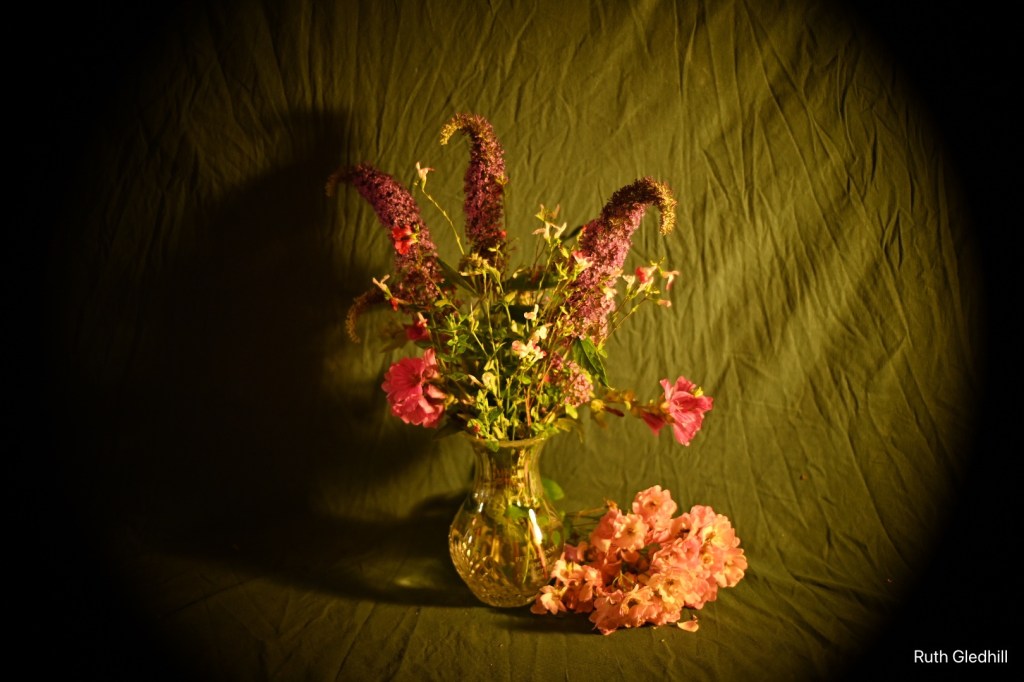
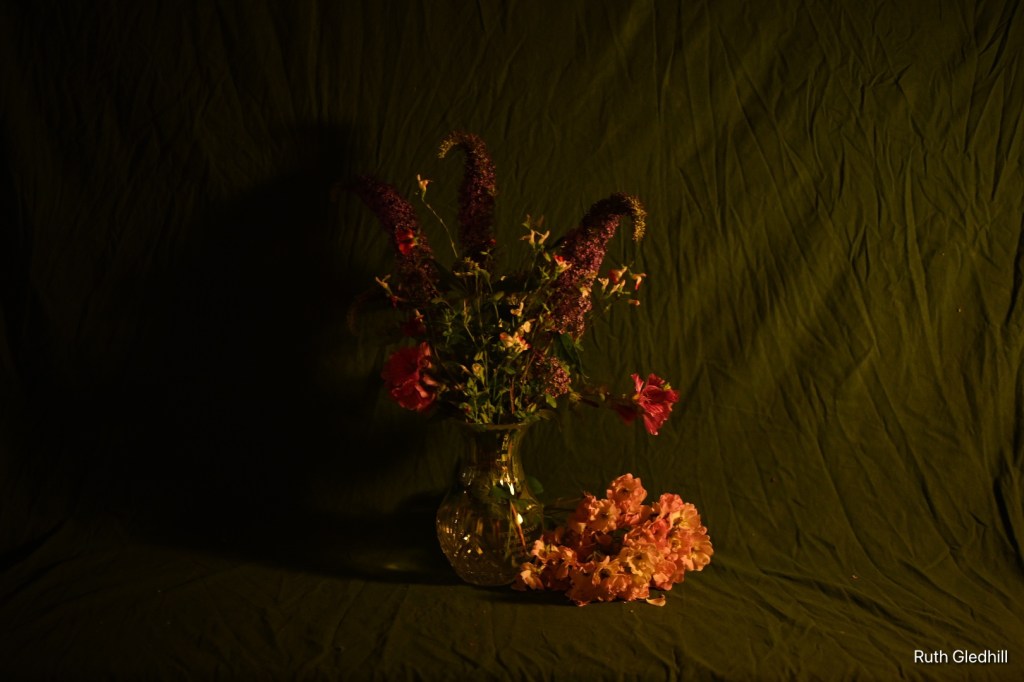
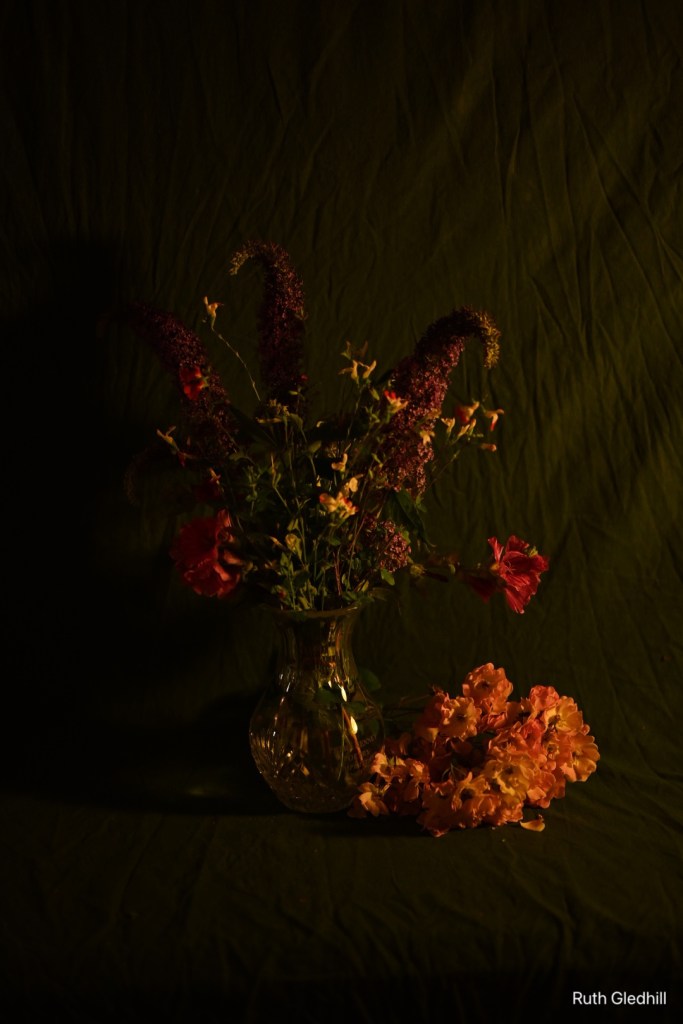
Task 2: Still life, using classical painting as inspiration.
Research classic still life paintings.
My preferred still life are of flowers, of which there are many beautiful productions. Vincent van Gogh’s Sunflowers series is among the best known but he did many others also. At one stage he preferred wild flowers in their natural environment and they proliferate in many of his best-known works.
Part of my research involved visiting Kew Gardens and photographing the wild daisy meadow and the tulip meadow, as an attempt to understand a little of van Gogh’s artistic journey that led him from wildness to still-life.


Van Gogh interest in classical still life gave rise to his iconic Sunflowers series and other works such as Flowers in a Blue Vase (1887) I love the dominance of light and colour in Van Gogh’s work and there is much to learn from it.
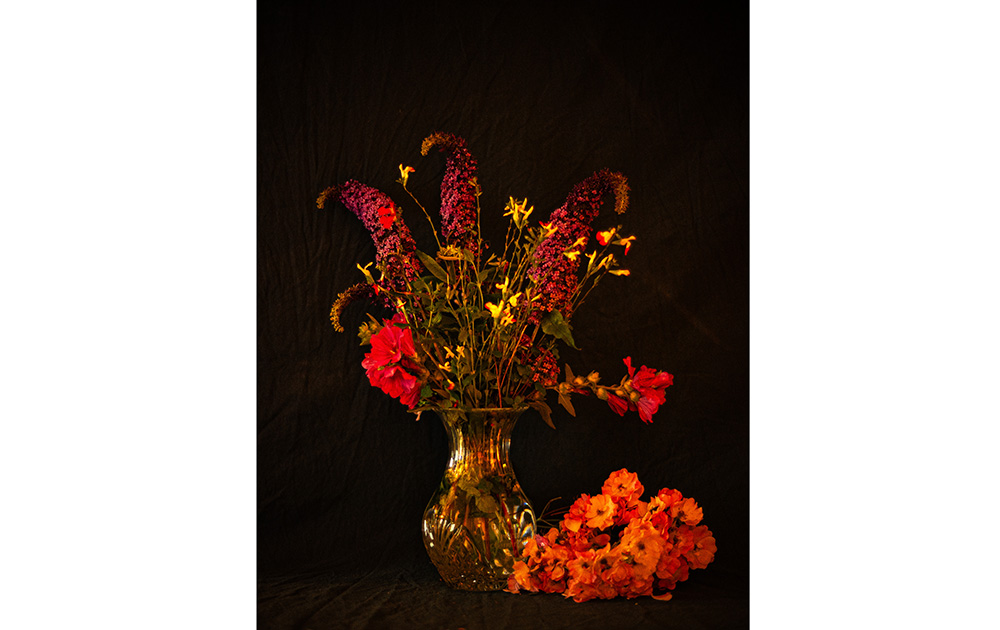
There are many classical other artists to learn from. Jan Brueghel the Elder’s Bouquet (1599) is among the classics in the field. Another is Still Life with Flowers (1617) by Ambrosias Bosschaert. I am also inspired by Constables Flowers in a Glass Vase (1814). Roses and Lilies (1888) by Latour is beautiful because of the complexity of ideas, the tempting roses cast down, bereft of water, on the table with the pure lilies receiving succour in the vase. Hence this is the one I am choosing to interpret, with flowers from our own garden, from where I am choosing to accompany the roses some scented thyme, budleia and bougainvillea rather than lilies. This is to add colour and complexity and, with the thyme, the concepts of healing and spiritual nourishment, rather than simple purity.
I also had a breakthrough in terms of focus when working on this image. As a severely short-sighted person unable to wear contact lenses, and unable to work effectively through a camera view-finder with glasses, my photography journey has been transformed by the advent of mirrorless cameras and the backscreen presenting the image as seen by camera. Suddenly, focusing properly is achievable again and it is actually a bit of blessing to be short-sighted with this set-up. Adventuring forth into the realm of manual focus for the first time in five decades, when my eyes began to go, I have at last discovered how to do it again with the Voightlander, because of the way this classy lens combines traditional photography mechanics with the latest in digital enhancement such as the coloured ‘tells’ helping indicate when a shot is in focus. Using the light meter on the central white flower, combined with the extremely shallow f1.2 meaning this flower had to be completely sharp, helped me focus effectively both literally and metaphorically.
As achieving sharp focus is something I have struggled with for years, I cannot say adequately enough how much this breakthrough right at the end of this course means to me. It feels transformative.
I feel I have only just started down this light-meter road and there is more to explore, but it it is incredibly exciting.
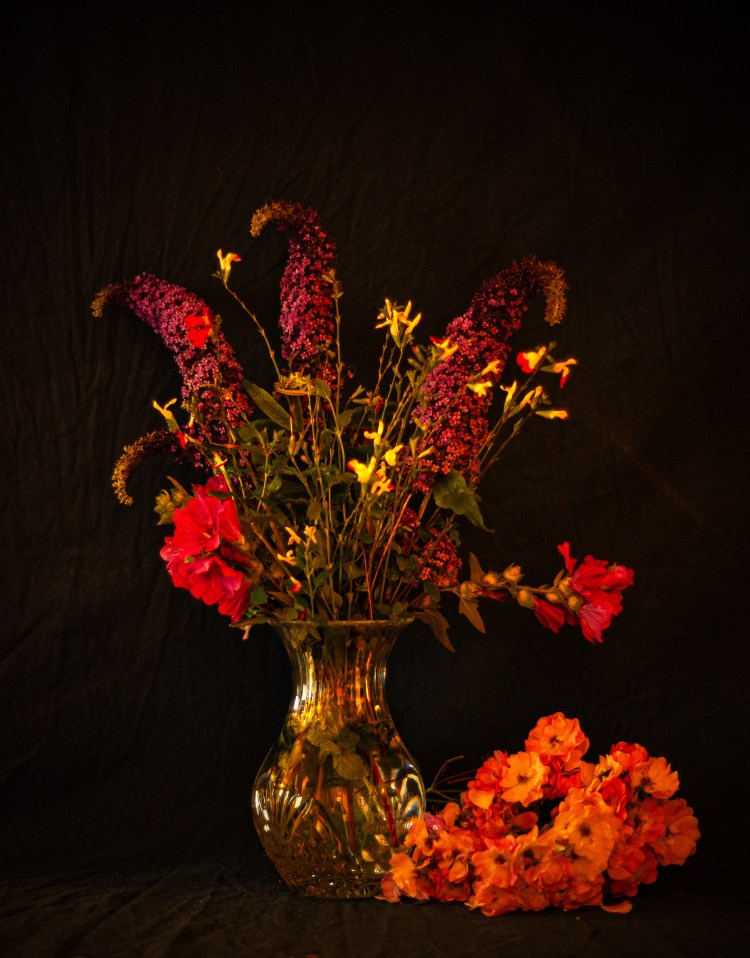
Still-life, Nikon Z6.II 60, ISO 800 F1.2
A-zaleas at the Isabella Plantation. Exploring natural light in our A-Z project.
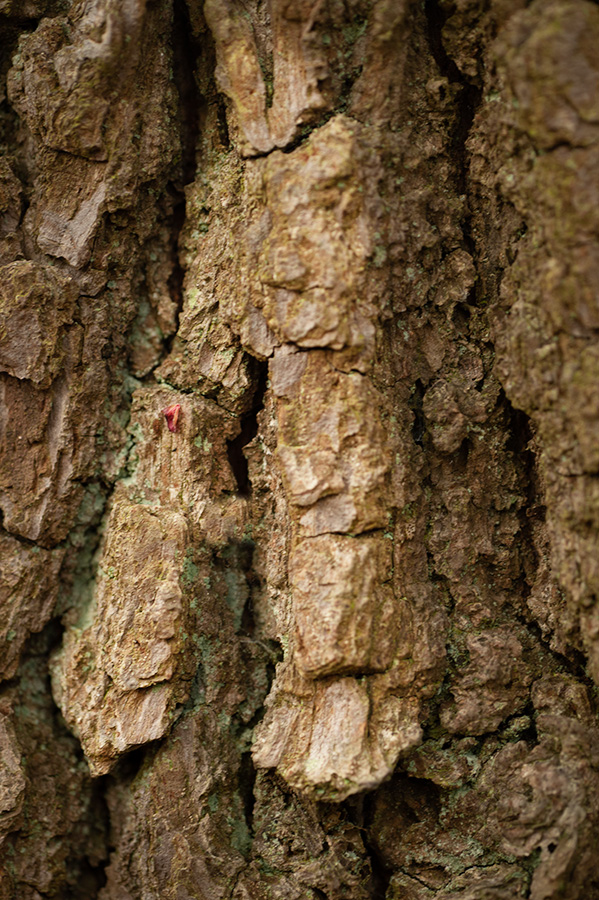
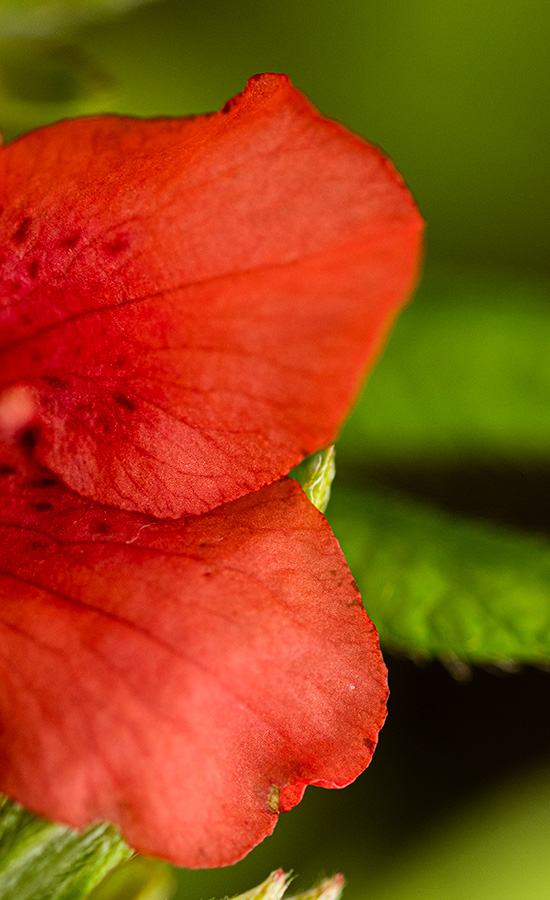
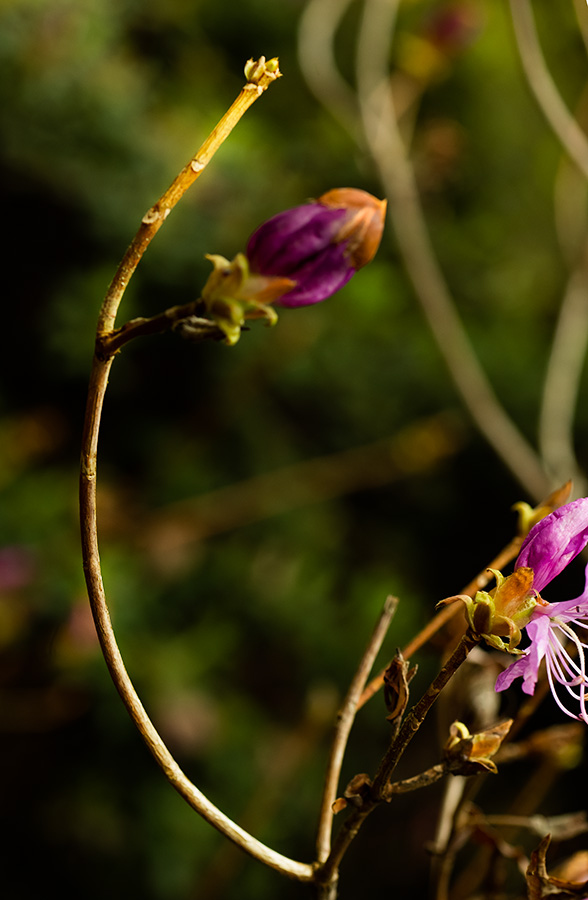
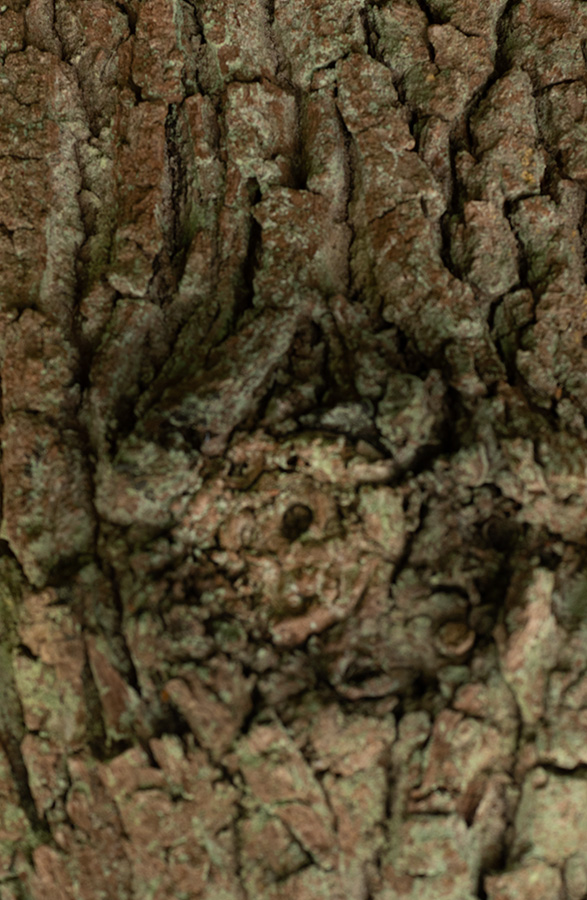
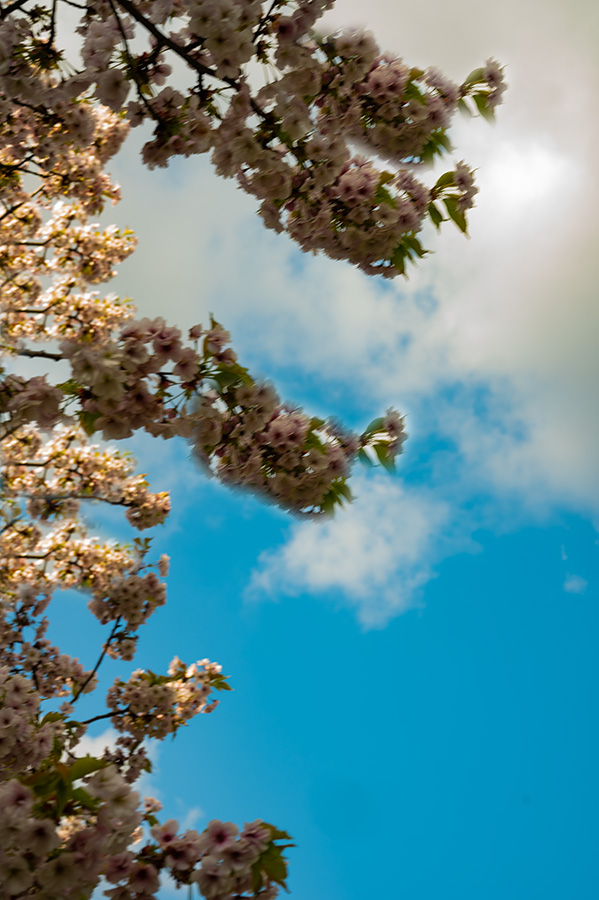
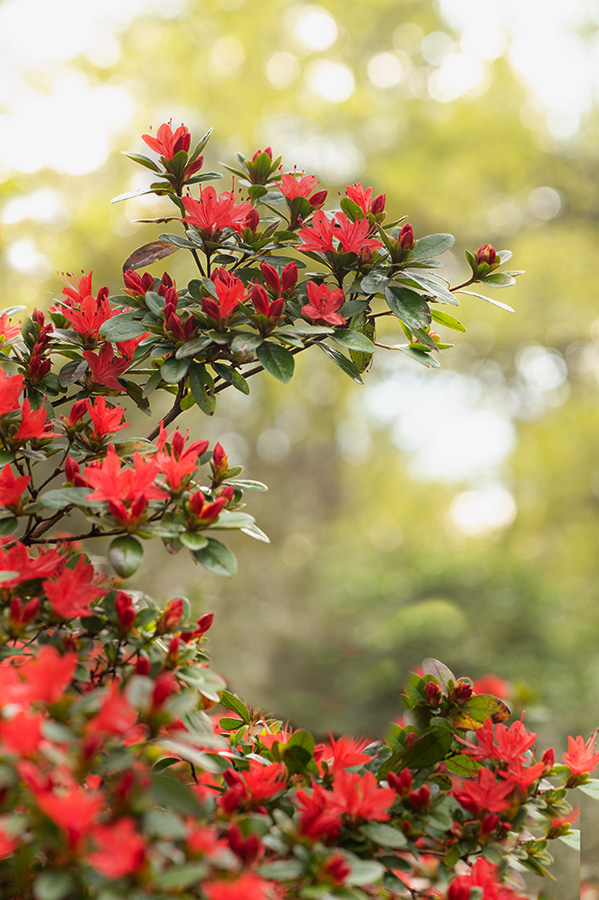

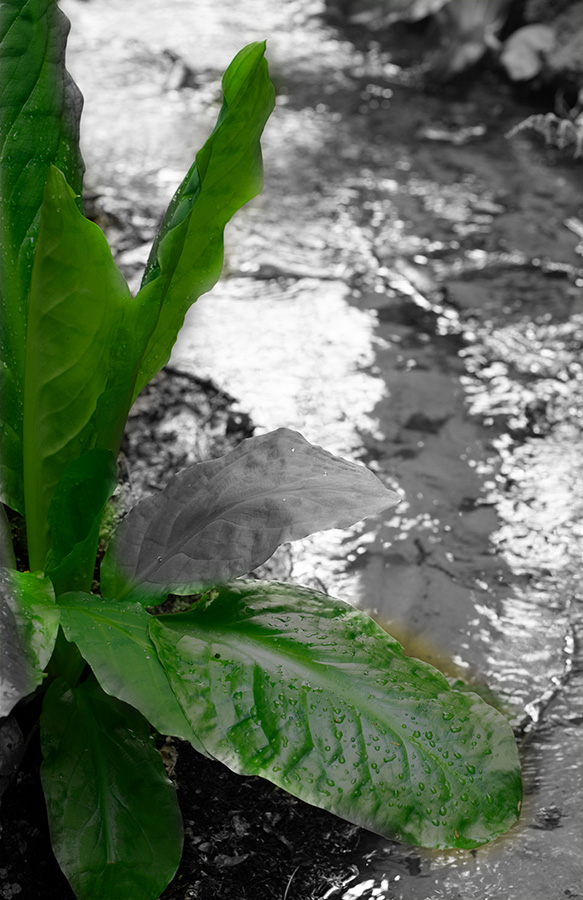
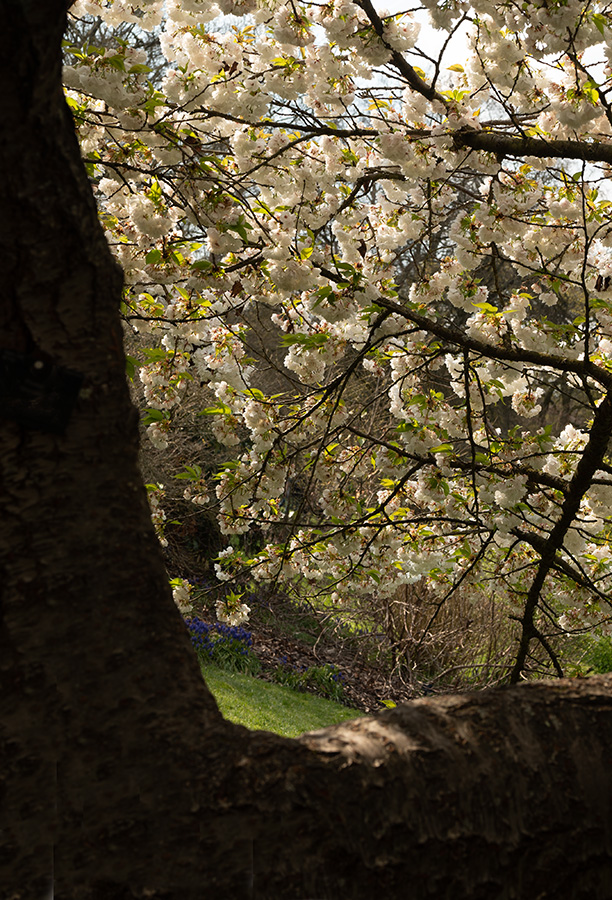

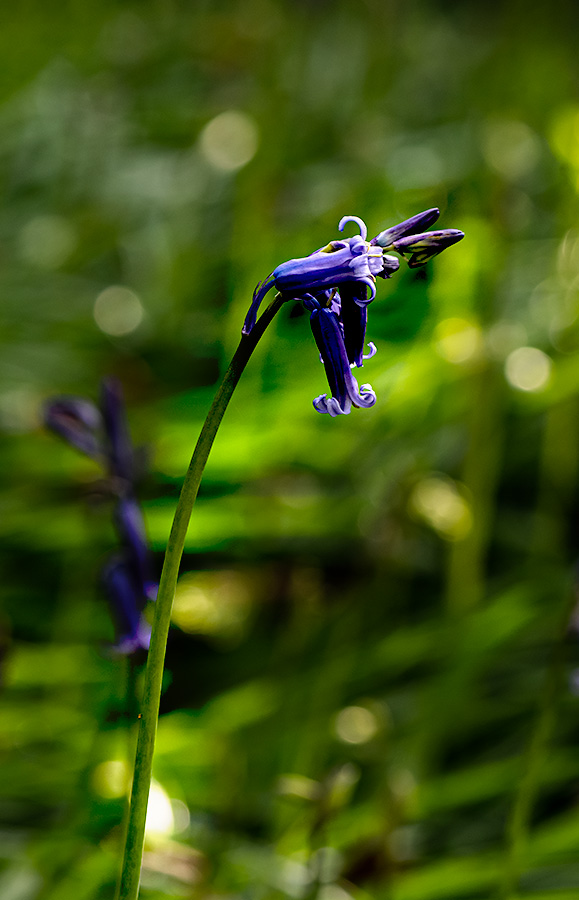
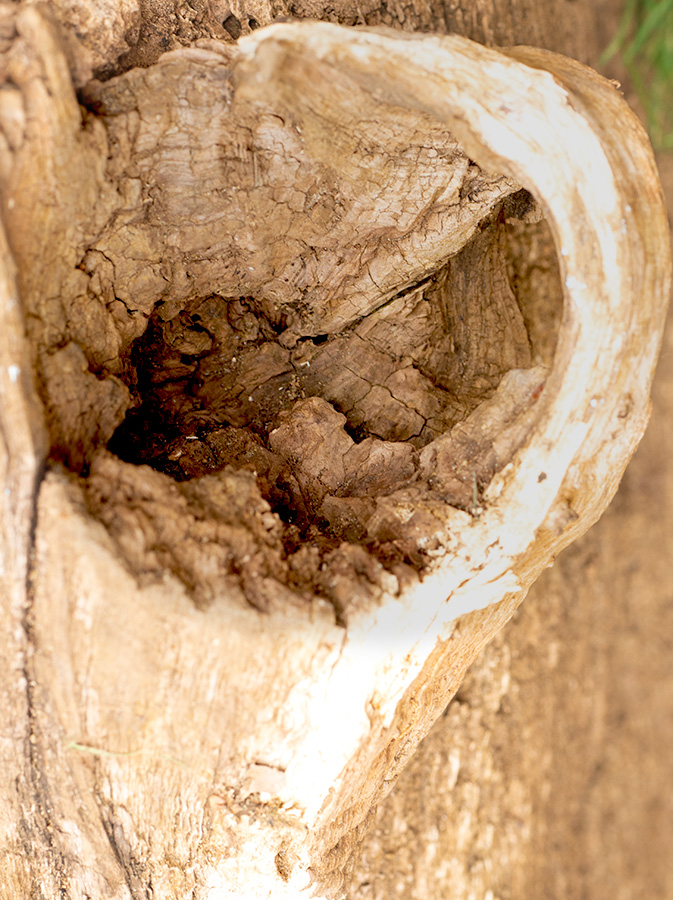
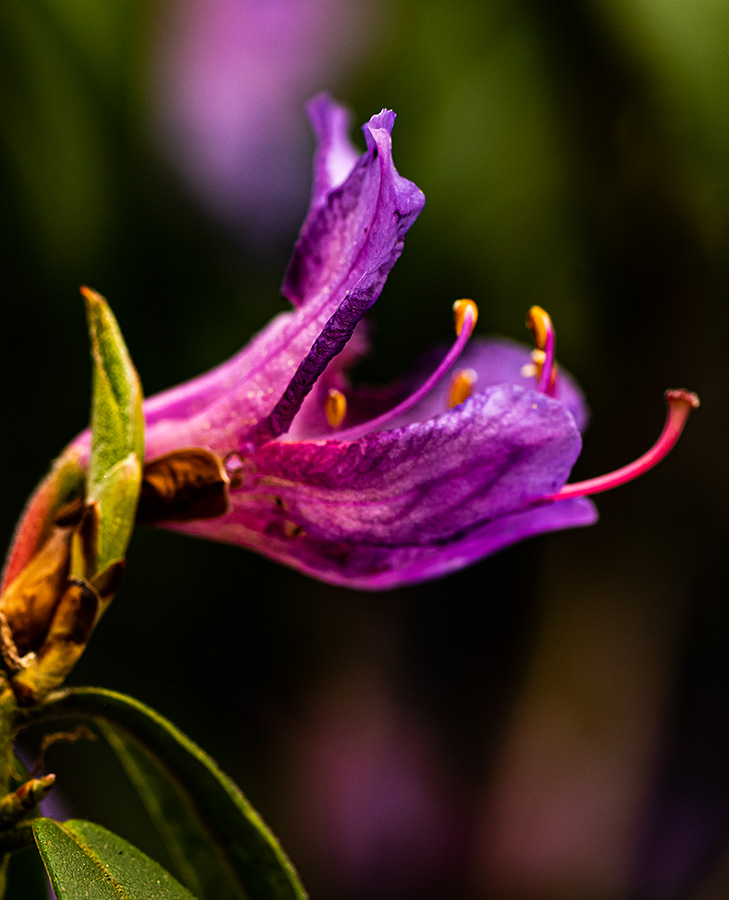
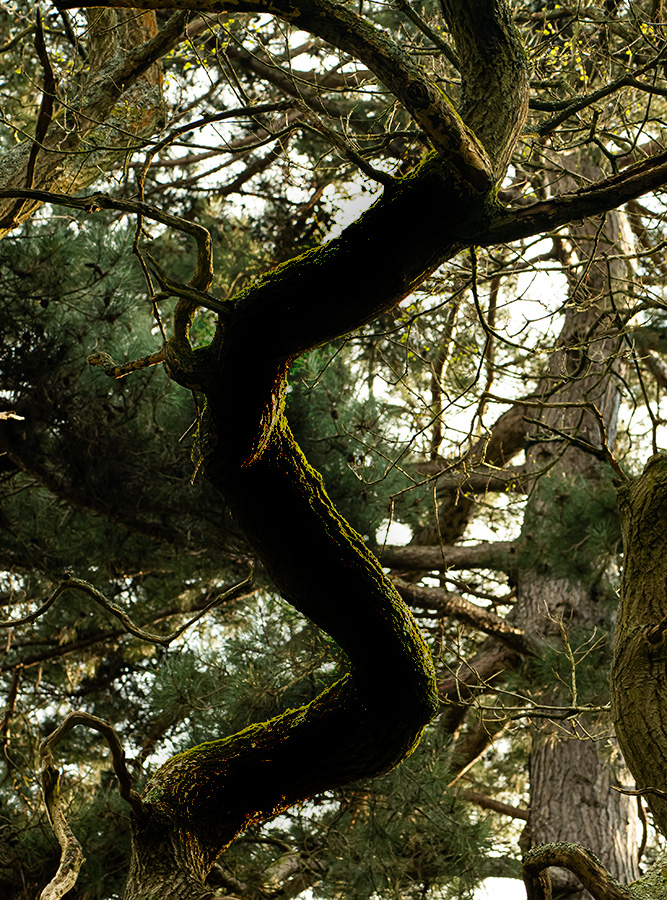
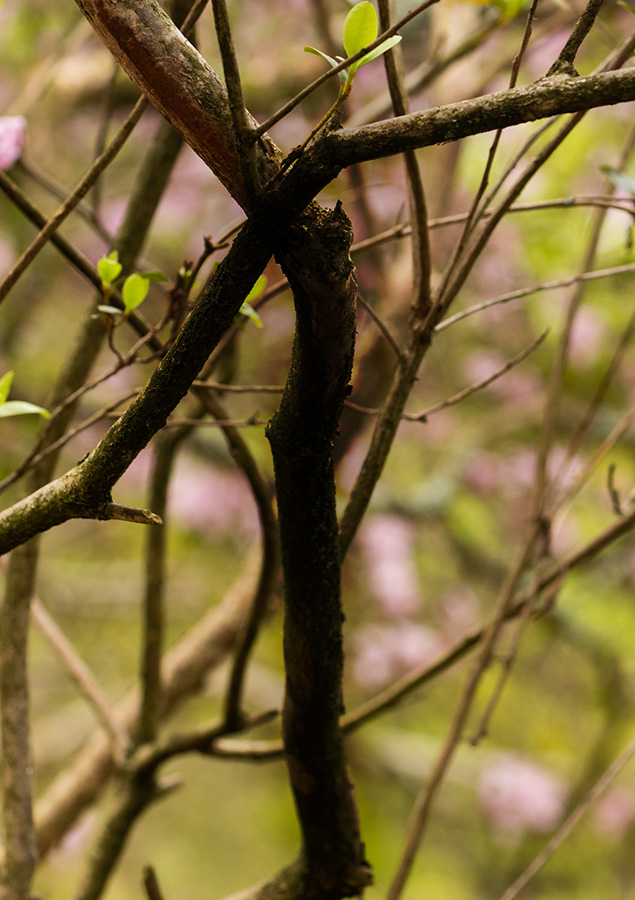
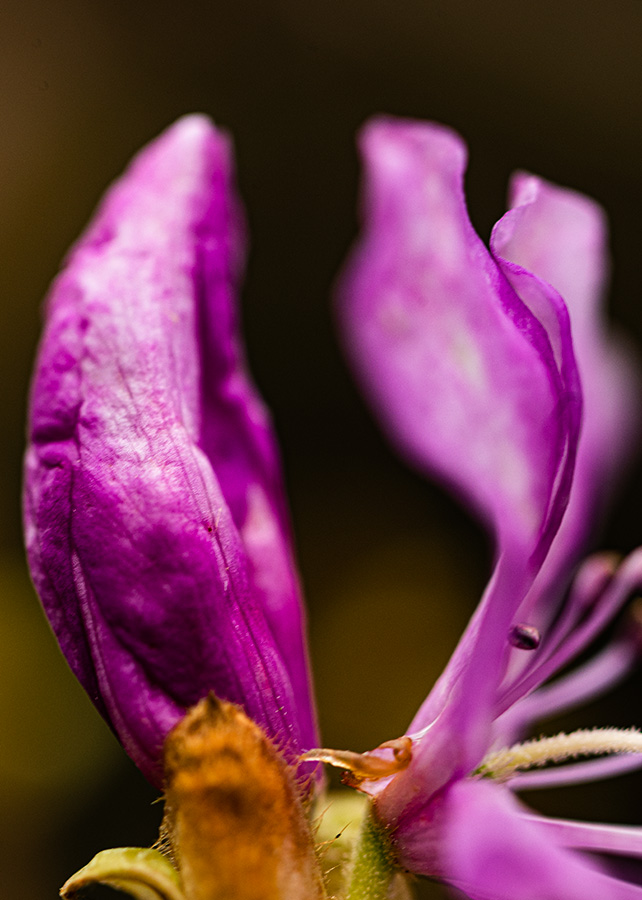


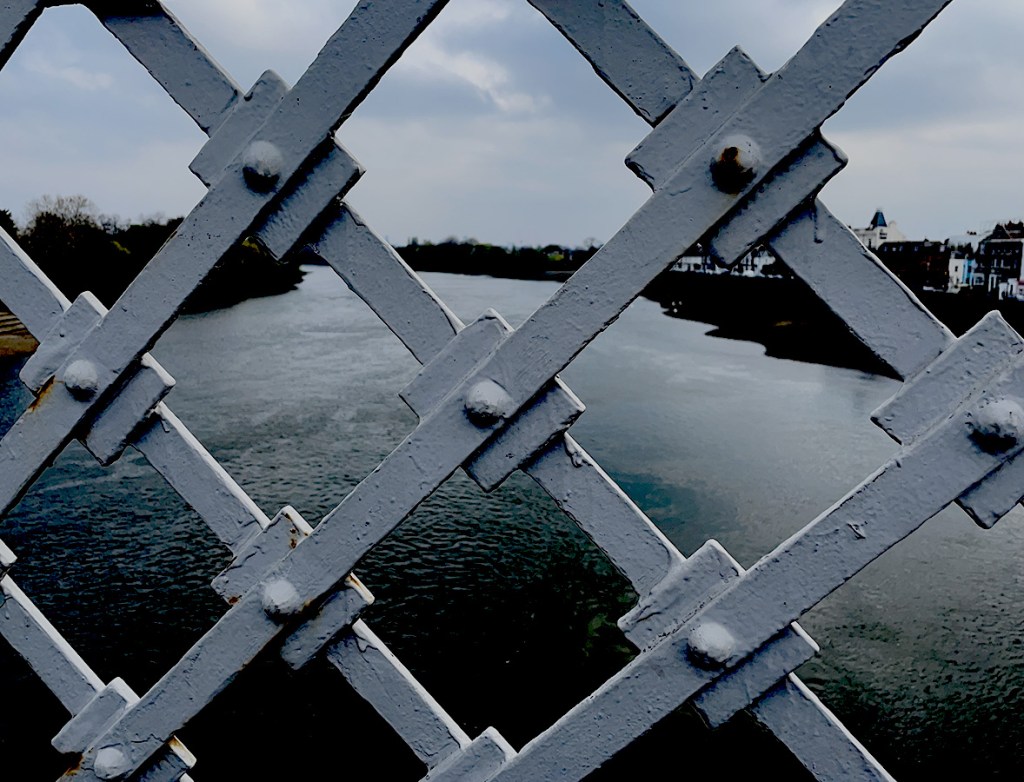


Our task was to find approximations to letters of the alphabet in the world around us. I combined this with a photowalk to Isabella Plantation in Richmond Park where azaleas, bluebells and more were in bloom. A couple of the images were from an earlier walk to Kew Gardens, to capture the spring blossom, when I first conceived the idea of how to approach this ‘alphabetography’ task. One was taken on a mobile phone, on Barnes footbridge over the Thames.
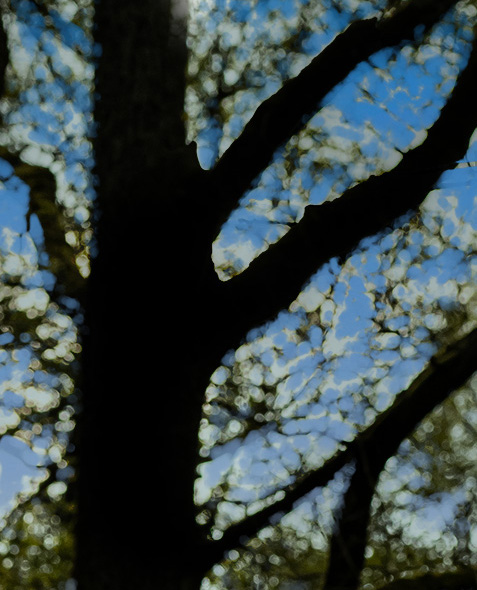
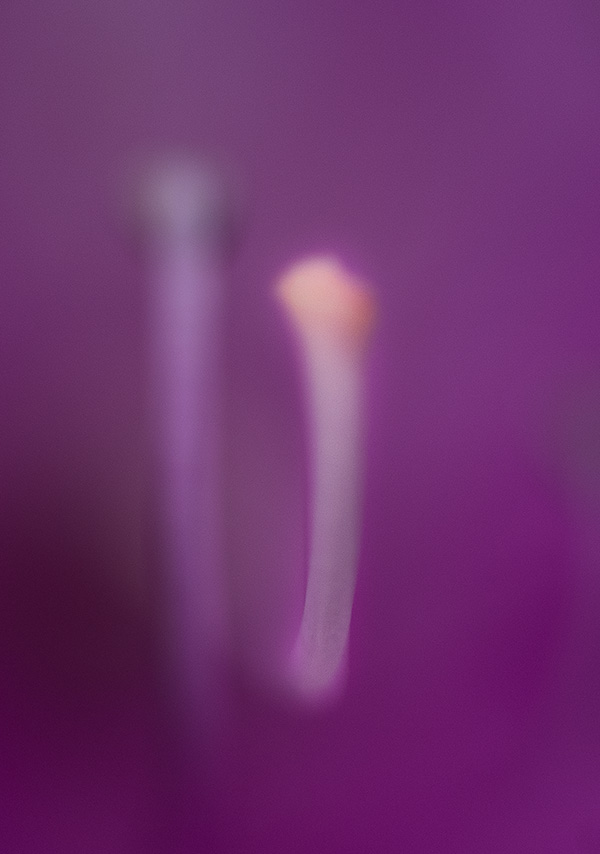
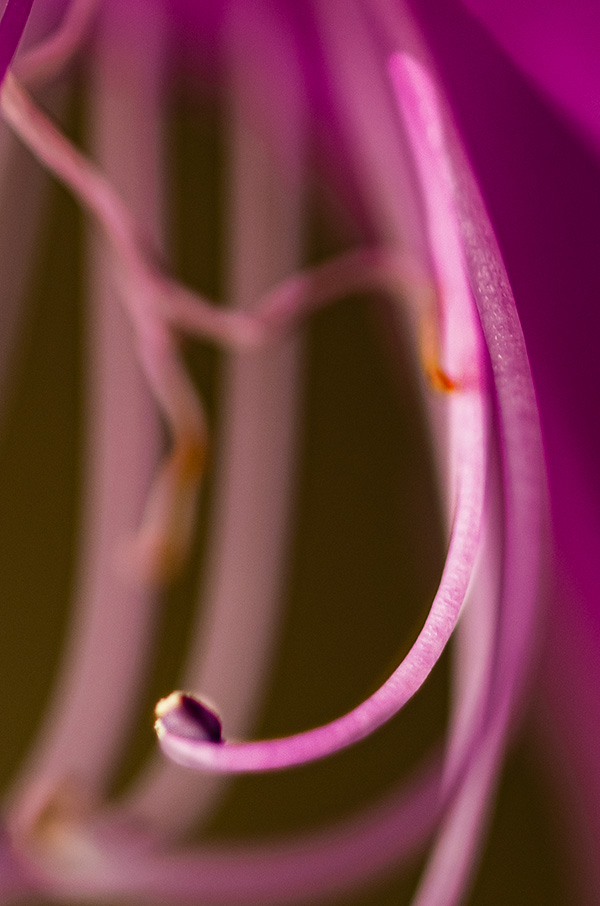
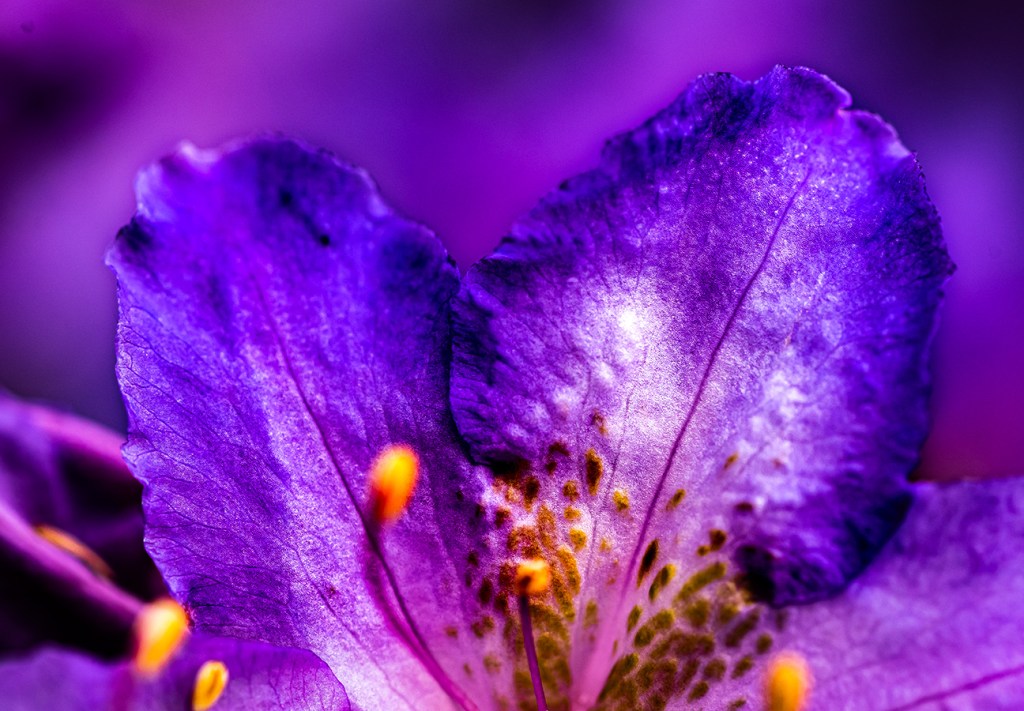
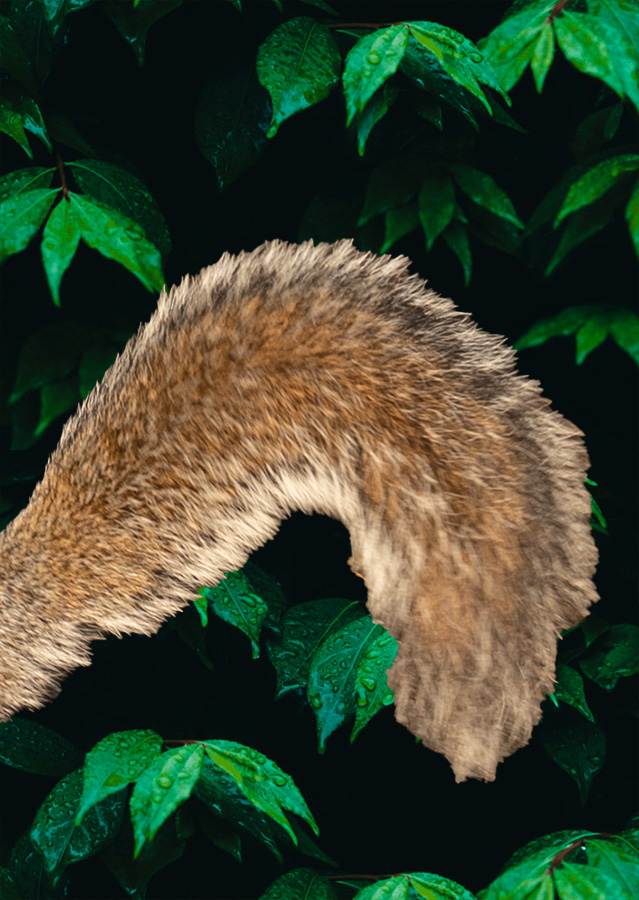
Once I started looking, letters popped out everywhere – in the shapes of branches, in flowers, in grass and even in clouds and water. I used a macro lens for some images, such as when focusing in on the delicate tracery of a flower, a wide angle lens for the famous ‘still pond’ with the reflections of the surrounding flowers, trees and sky, and for everything else a fixed 50mm lens. Camera was Nikon Z6:2. Minimal post-processing was done in Photoshop, using tools to darken slightly specific areas of an image to emphasise the letter shape that I saw, without distorting the natural shape of the flower or branch.
One image I was particularly pleased with was the letter O. This was my first successful attempt to capture a starburst, it was just there waiting for a passing photographer, peeking through the rhododendron bushes. I discovered from that how to do it in future which made me very happy.
LO4 Understand photographic practice and health and safety procedures.
It is essential to understand safe working practices in lighting for photography.
Beyond the health and safety measures outlined in Level 6 and Level 7, these further requirements must be noted.
- Great care should be taken to follow a manufacturer’s instructions in terms of lighting and power to avoid eloctrocution.
- With wires (on a non-wireless set-up such as my home studio) care should be taken, maybe using tape on the floor if there are people or animals as subjects in the pix, to avoid trip hazards. Tripod legs on tripods and background stands can also be serious trip hazards. Backgrounds can fall over. Water, a common prop, can spill onto live electrical plugs. It is essential to be aware of and guard against all such hazards.
- Lifting studio equipment to get it into place can lead to back injury if sufficient care is not taken. Personally I need an assistant to help with this and general oversight to ensure health and safety requirements are met. It is too easy, in the enthusiasm of the shoot, to overlook a hazard. My equipment is portable, but still heavy, so help is needed if a shoot is done outside the home, to avoid potential injury.

_-_Bouquet_of_Flowers_in_a_Ceramic_Vase.jpg#/media/File:Jan_Bruegel_(I)_-_Bouquet_of_Flowers_in_a_Ceramic_Vase.jpg)